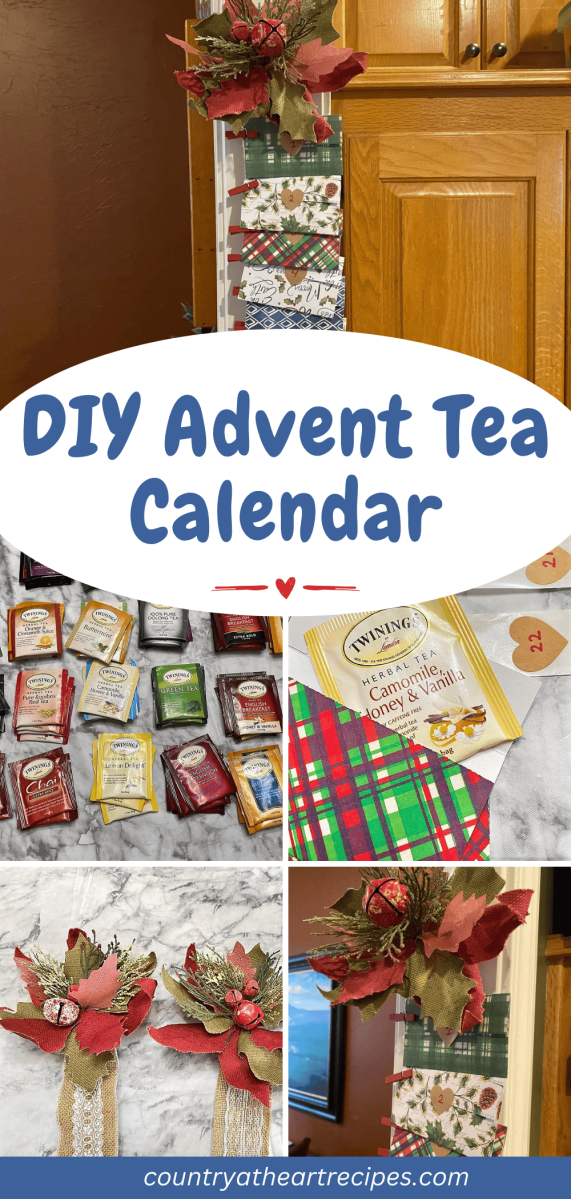

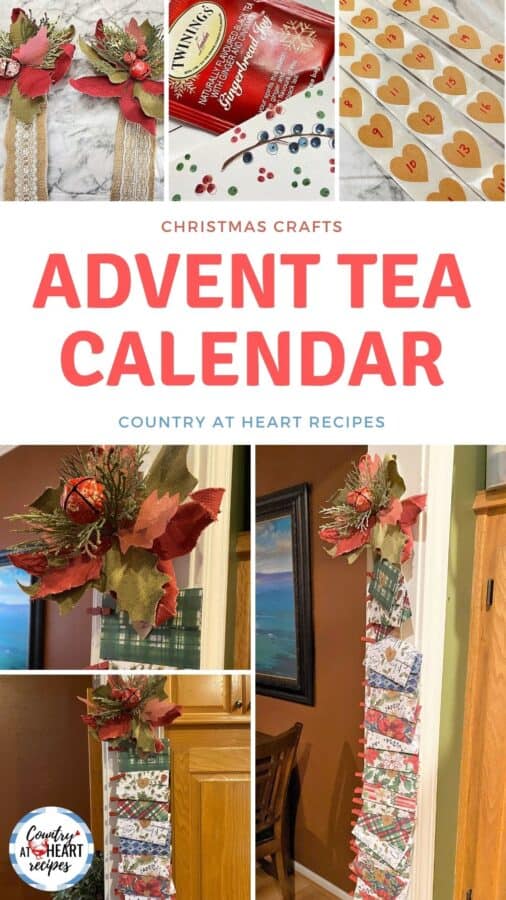
Well, it’s the Holiday Season, and I’ve been crafting again. This year I decided on DIY Advent Tea Calendars for our daughters. It all began when I read a post from another tea-lover who had purchased an advent tea calendar for the Christmas season. I had never heard of such a thing, and thought it was a brilliant idea for a gift. So, my search began.
Searching Calendar Models and Buying Supplies

I began this crafting process by studying different DIY models on Pinterest and decided on a space-saving option, based on a very simple craft I found online. Hers was very simple and elegant. But my own ideas were forming! View DIY Tea Calendar Ideas Here.
With a bit of searching on Amazon and at Hobby Lobby, I found some burlap poinsettia floral picks to place at the top of the calendar. And I already had a roll of burlap ribbon in my craft supply from our youngest daughter’s wedding.

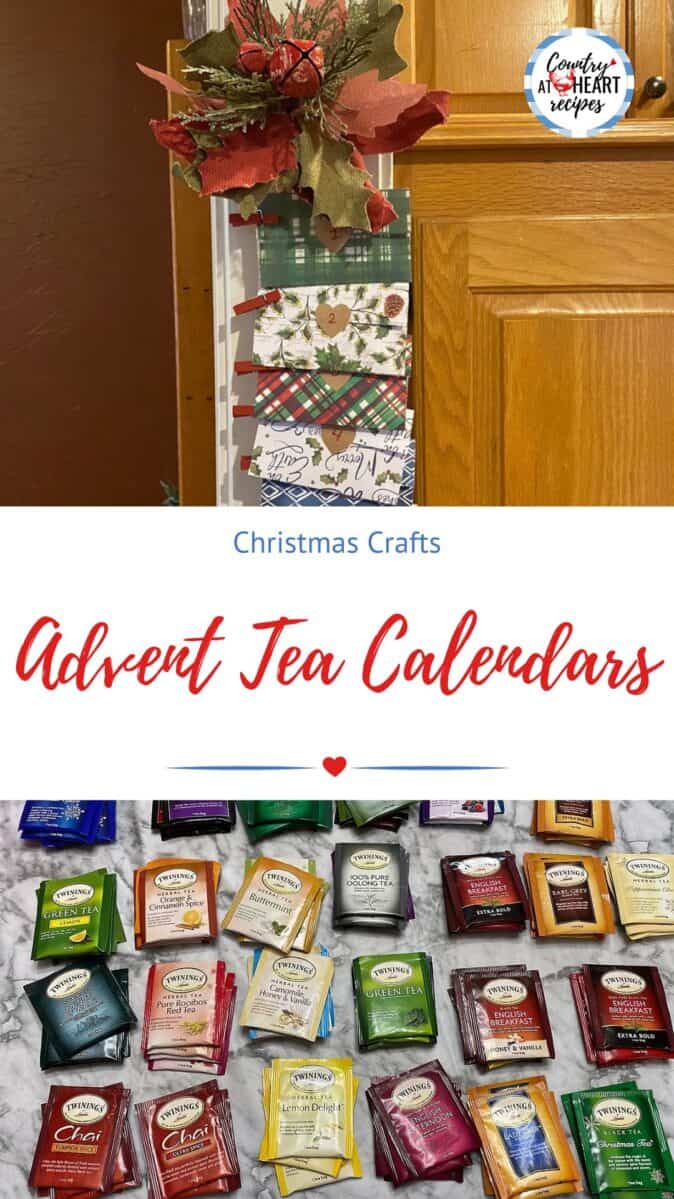
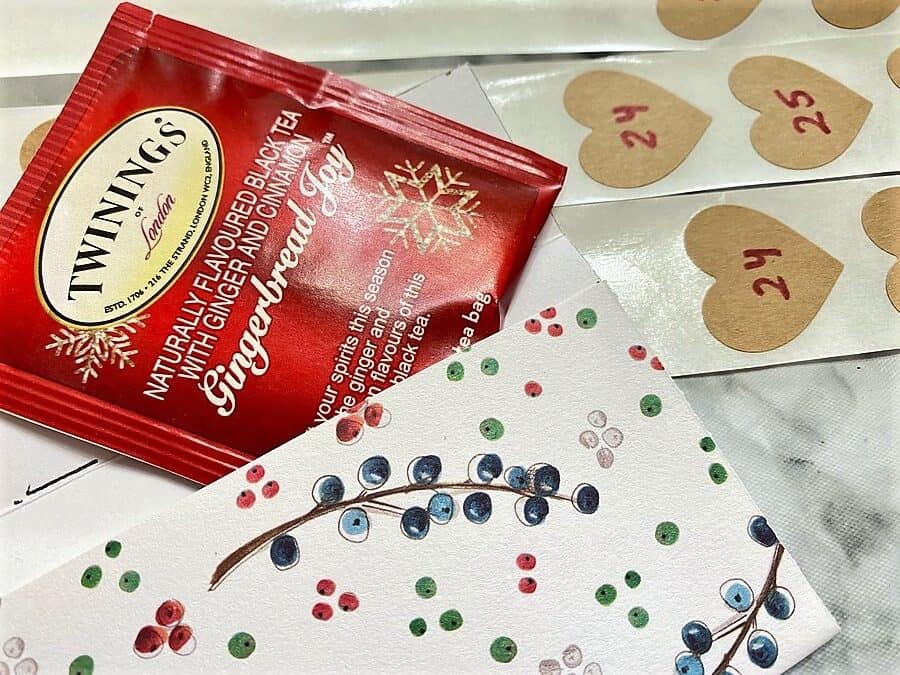
The tea was the simple part. I ordered sets of 50 individually wrapped Twinings Tea Bags on Amazon, which also contained specialty teas for the holidays such as Winter Spice, Gingerbread Joy, Peppermint Cheer, and Christmas Tea.
The cost of the tea was my most expensive part of this project, but it’s worth noting that there were no duplicates in the 25 teas. This meant that our daughters were going to experience 25 different teas in the 25 days leading up to Christmas. Perfect!
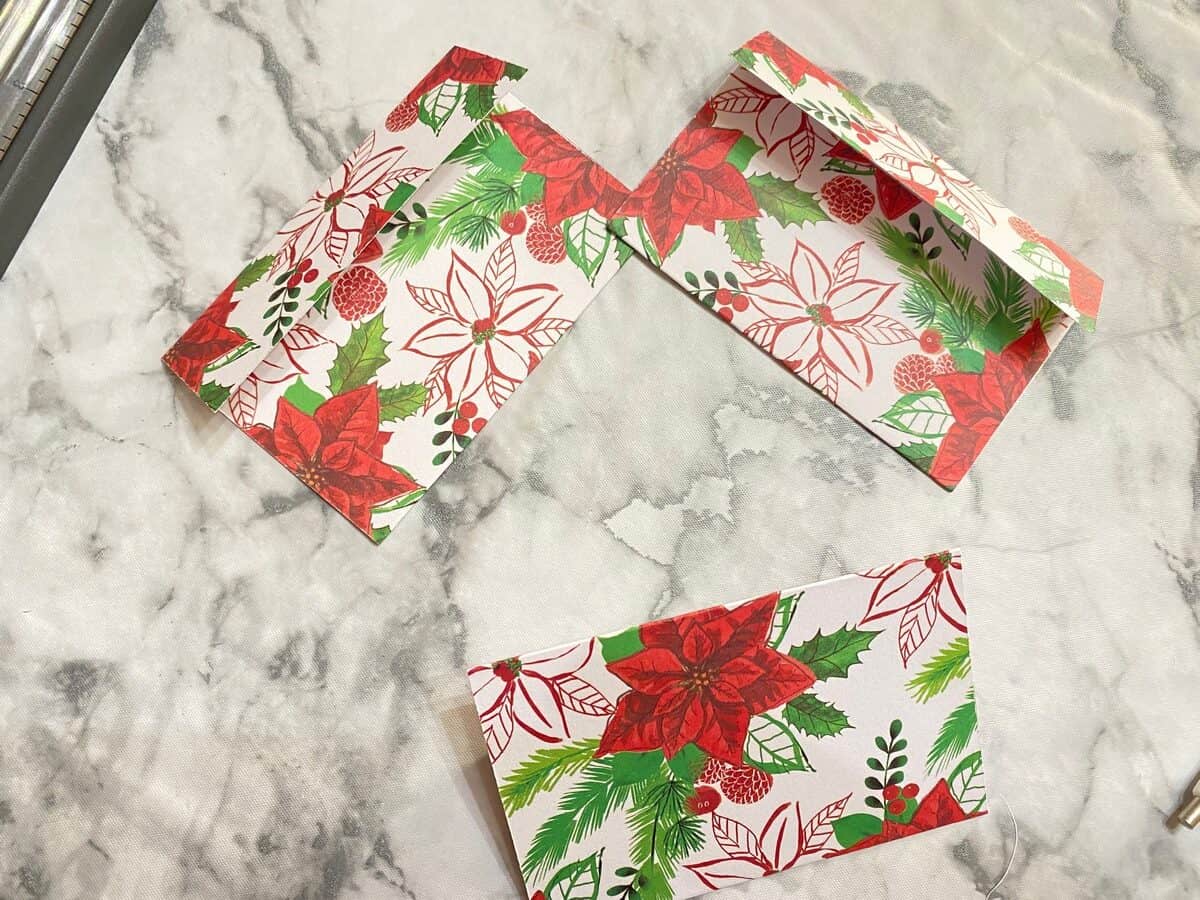
I considered what to do for the envelopes. Store bought? No, too hard to find the right size, and this would just add to the expense. Instead, I found some kid’s Valentine’s in my stash of cards that had envelopes that fit the tea bags perfectly. This became the pattern for my new envelopes that I made from a big book of Christmas Craft paper purchased a few years ago at Hobby Lobby.
To hang the envelopes, I found small clothespins that were red. Natural clothespins would have worked, too, but they were the same price as the red, and I liked the red better. The craft was coming together perfectly!
Supplies Needed for DIY Advent Tea Calendars
Please note that my craft project included enough supplies to make 4 calendars. For your ease of crafting, the supplies listed below will make two calendars.
- 9′ roll of 3″ wide Wired Burlap Ribbon (1 roll will make 2 calendars)
- Burlap Poinsettia Floral Picks (2)
- String to make two 16″ Hangers
- Hot Glue Gun and Glue Sticks
- Christmas Craft Paper to make Handmade Envelopes (18 pages)
- Pattern for Envelopes
- Crafting Paper Cutter
- Tacky Glue
- Heart Seals
- Small Red Clothespins (2 packages)
- Individually Wrapped Tea Bags (50 bags)


Total Cost to Make this Project
I could have purchased an Advent Tea Calendar online anywhere from $20-60 on average, but I knew I could make my own for much less. Plus, I enjoy crafting during the Christmas season.

Total expenses for this DIY craft project came in at just under $55 , but keep in mind that this is for two calendars. I also had some items already in my possession, such as the craft paper, hot glue gun, glue sticks, and paper cutter. Here is a breakdown of my actual costs, plus the amount of the craft paper for a better evaluation of price.
Instructions for Making These Calendars
Form the Ribbon Hanger
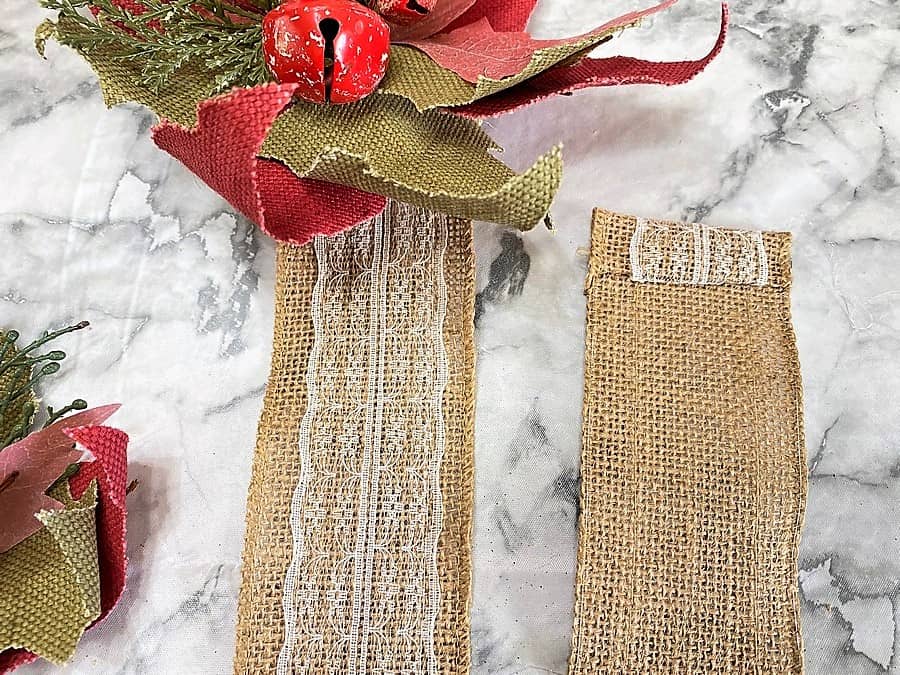
When I had all of my supplies in hand, I began making the calendars. First, I cut the roll of burlap ribbon in half, so that I had 2 lengths that were each 4 1/2 feet long.
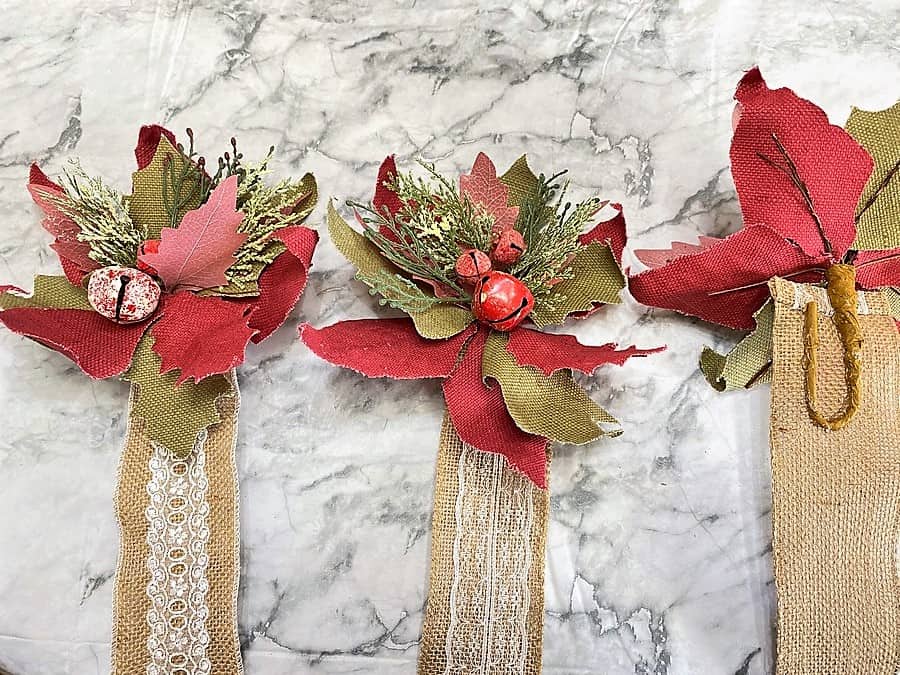
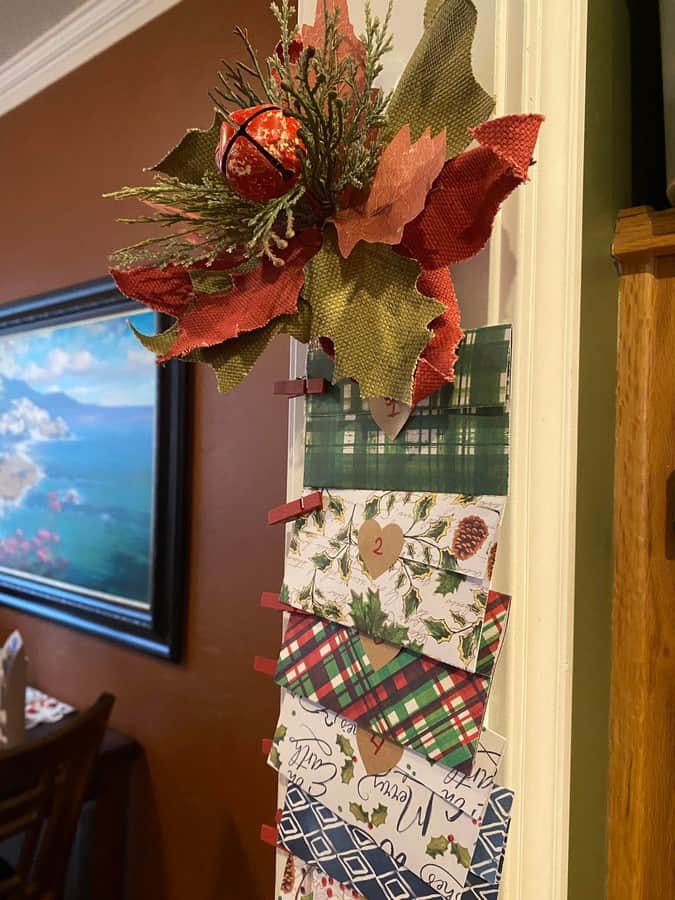
Using a hot glue gun, I folded both ends of each ribbon to prevent unraveling. Then, I attached the poinsettia floral picks to the top of each ribbon. Once that was done, I glued a loop of doubled string at the back for hanging the calendar. I used a hot glue gun to do all of the attachments.
Make the Envelopes
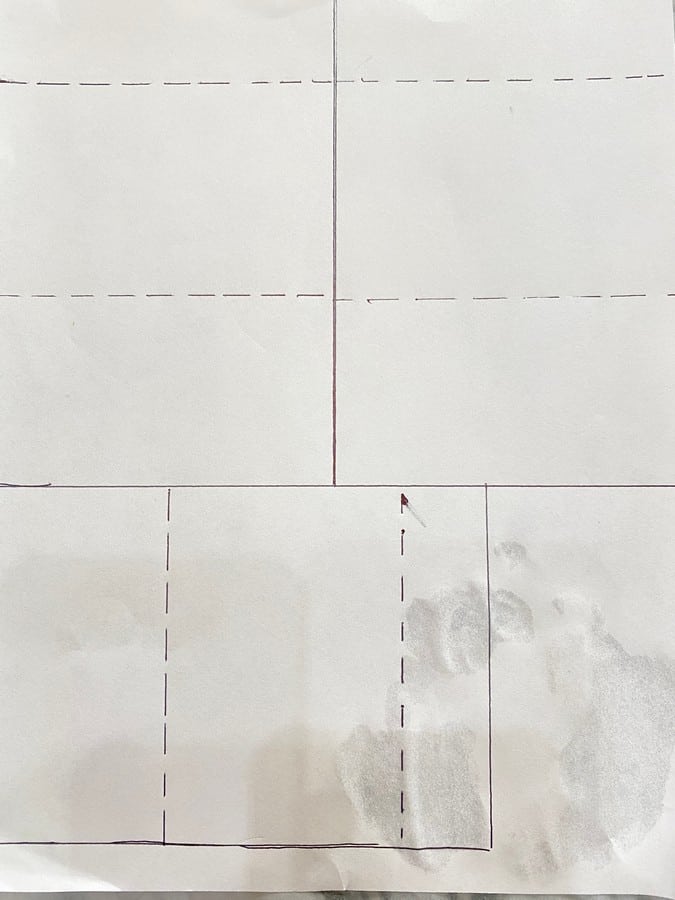
Now that the ribbon part of the craft was done, I moved on to making the envelopes. Using the Valentine’s Day envelope as my sample, I traced 3 of them onto a piece of paper. I planned to run my crafting paper through the computer printer, so I also had to trim each of the crafting pages down to 8 1/2″ x 11″ so they would fit my printer basket.
Obviously, I could have chosen a more elaborate envelope pattern for the calendars, but considering I needed 50 envelopes to make 2 calendars, I decided to situate as many envelopes on a page as possible. In my case, simpler was better.
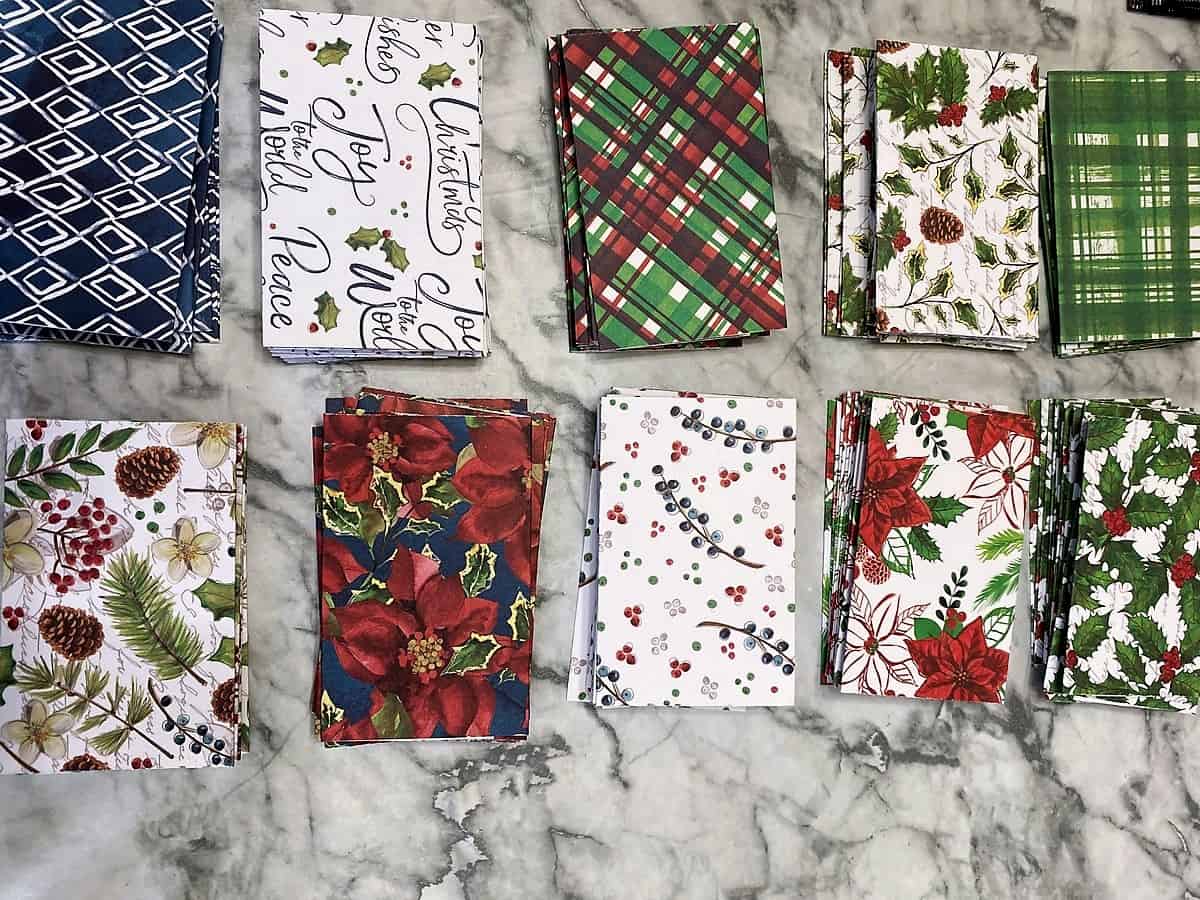
With my pattern in hand and all of the crafting pages trimmed, I began printing off copies, being careful to print on the back of each page. I used a paper cutter to trim each of the craft pages, which gave me three envelopes per page.
To finish the envelopes, I folded each on the dotted lines, sealing the side edges with tacky glue. At this point, I placed the envelopes under a stack of heavy books to press them down and allow them to dry.
Before tacky glue, I tried using a glue stick, but this didn’t hold the cardstock paper very well. The tacky glue worked without any problems.
Assembling the DIY Advent Tea Calendars
Before the final steps of assembly, I sorted through the tea bags, making sure I placed the special “holiday teas” on certain days. For instance, I picked Winter Spice for December 21, the first day of Winter, and for December 25th, I chose Christmas Tea.
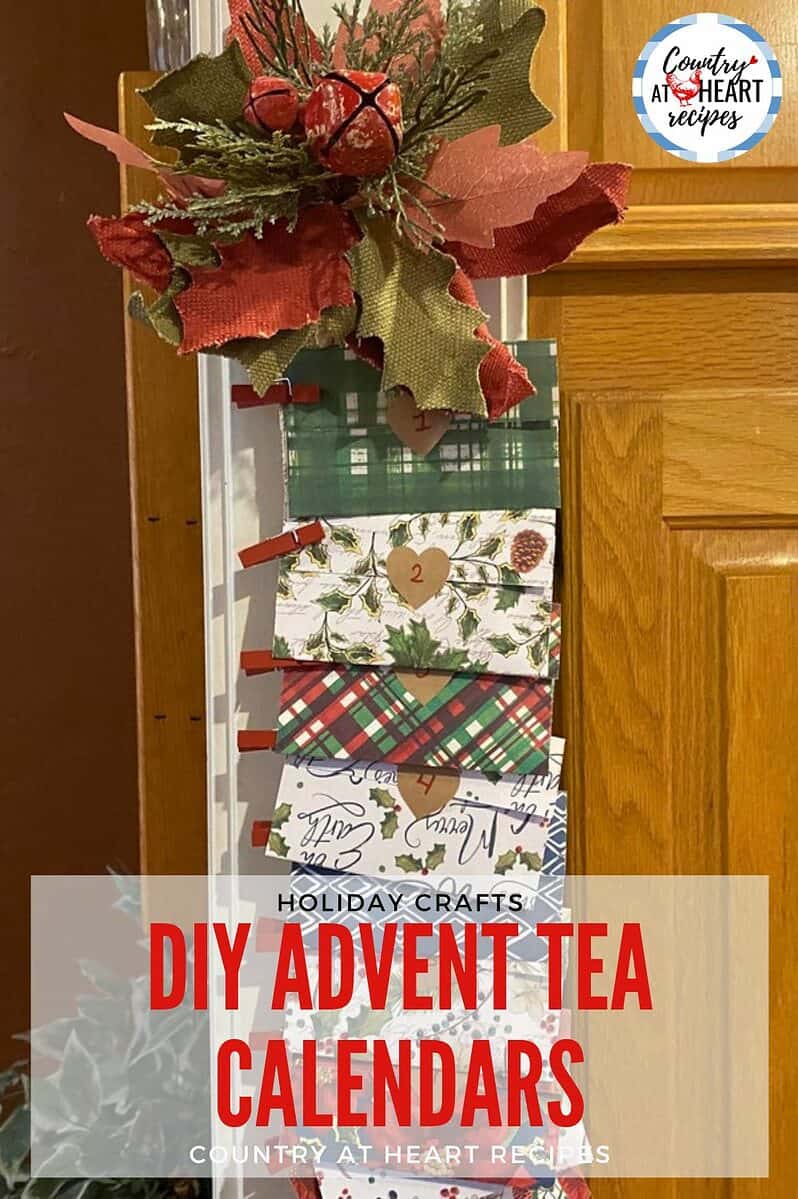
I also arranged the envelopes by color and design so that each of the days complimented those before and after.
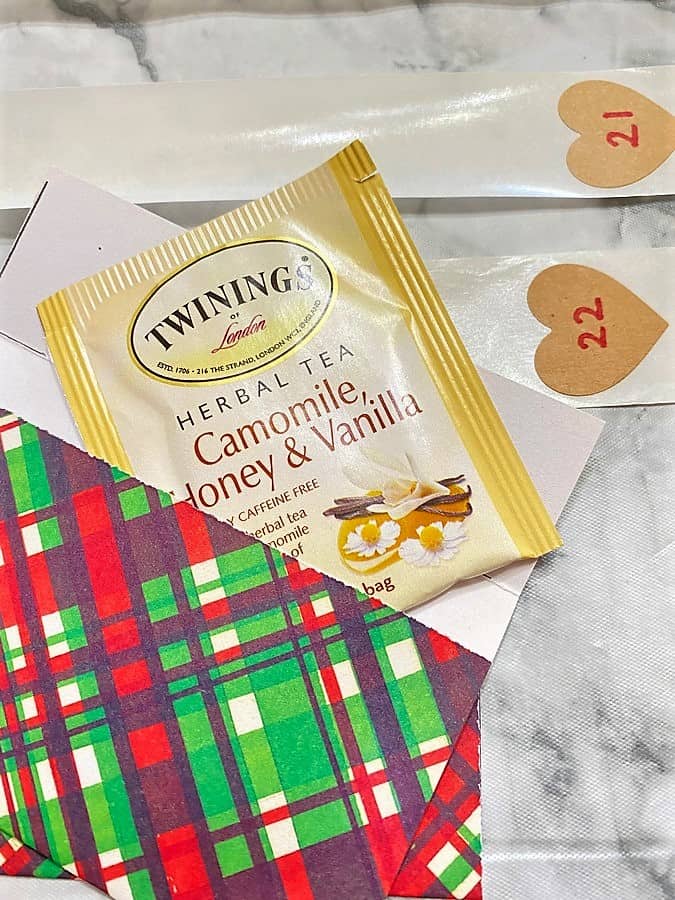
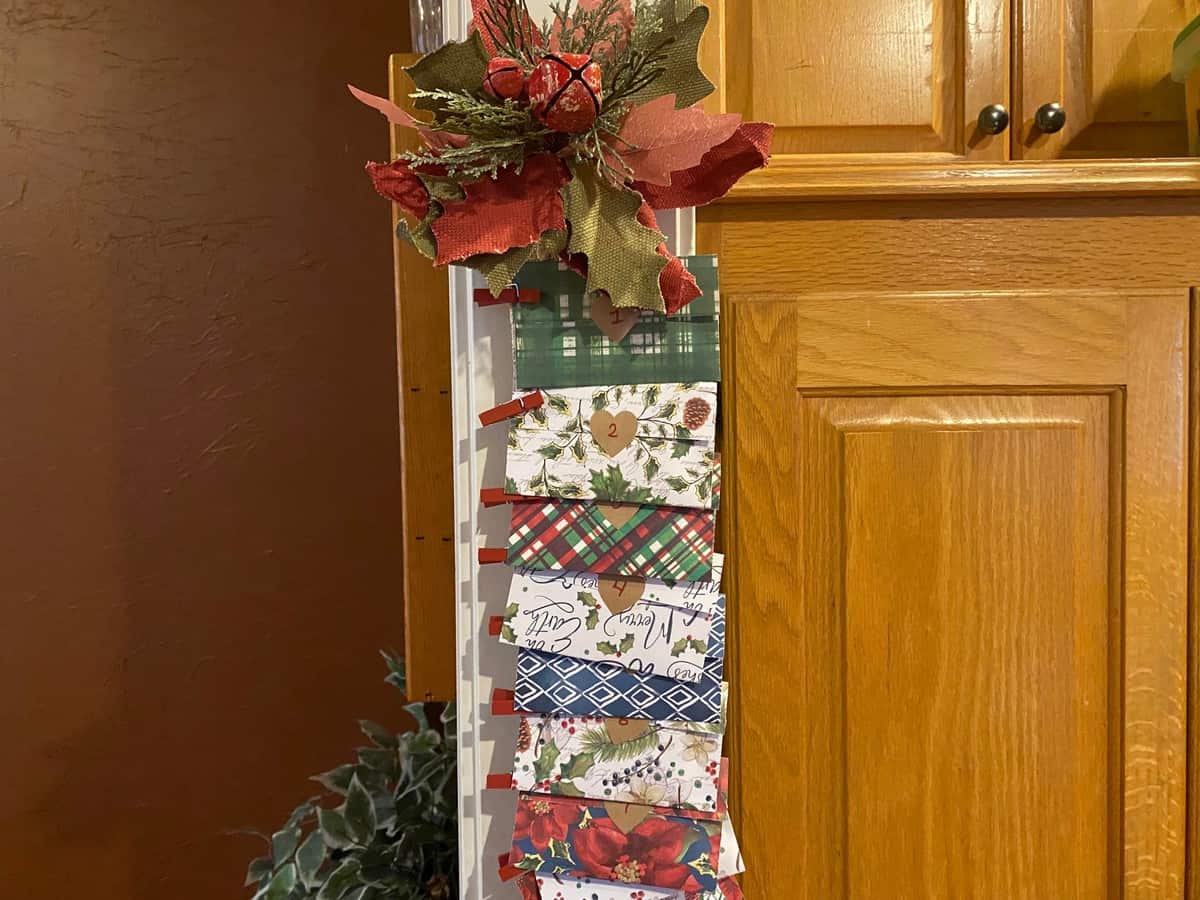
My final steps for putting the calendars together was to insert the assorted tea bags into the handmade envelopes and seal them shut with heart stickers numbered 1-25.
I found cute little 1″ heart stickers that I could number with a red marker. However, these stickers didn’t seal very well, and I had to use tacky glue on a lot of them. If I were to do this over, I would buy larger stickers that were at least 2″ in size.
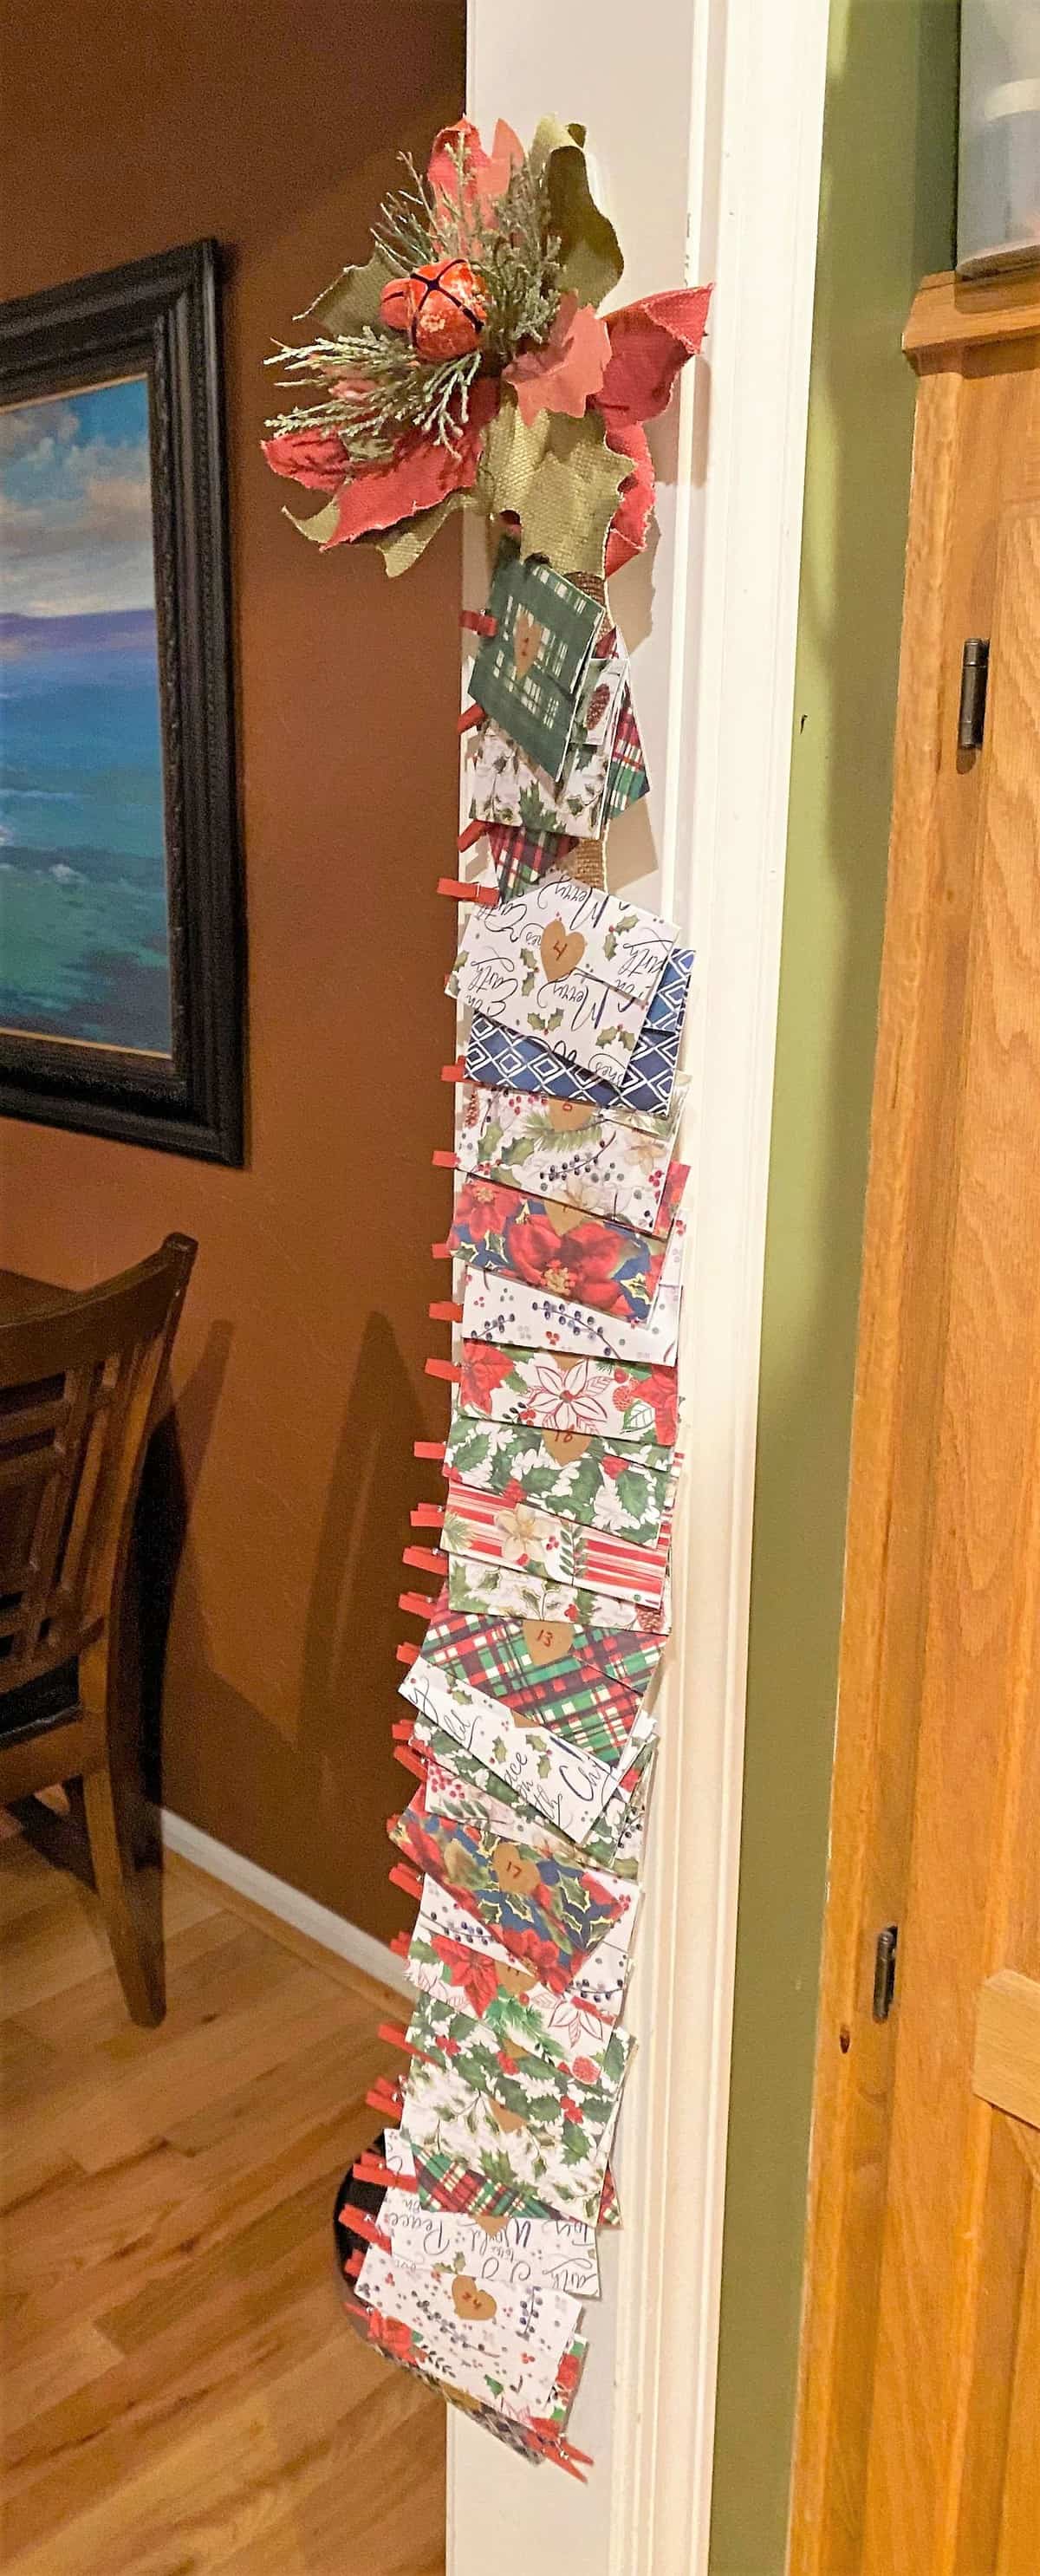
With all the tea bags in the envelopes, it was time to attach them to the ribbon with the red clothespins. To do this, I began at the bottom and worked my way up until all the envelopes were attached.
To package the calendars, I carefully rolled and placed them into a gift box to give to our daughters. Job done.
I enjoyed making these DIY Advent Tea Calendars for this year’s craft. I hope these instructions prove helpful, and that they inspire you to make your own!
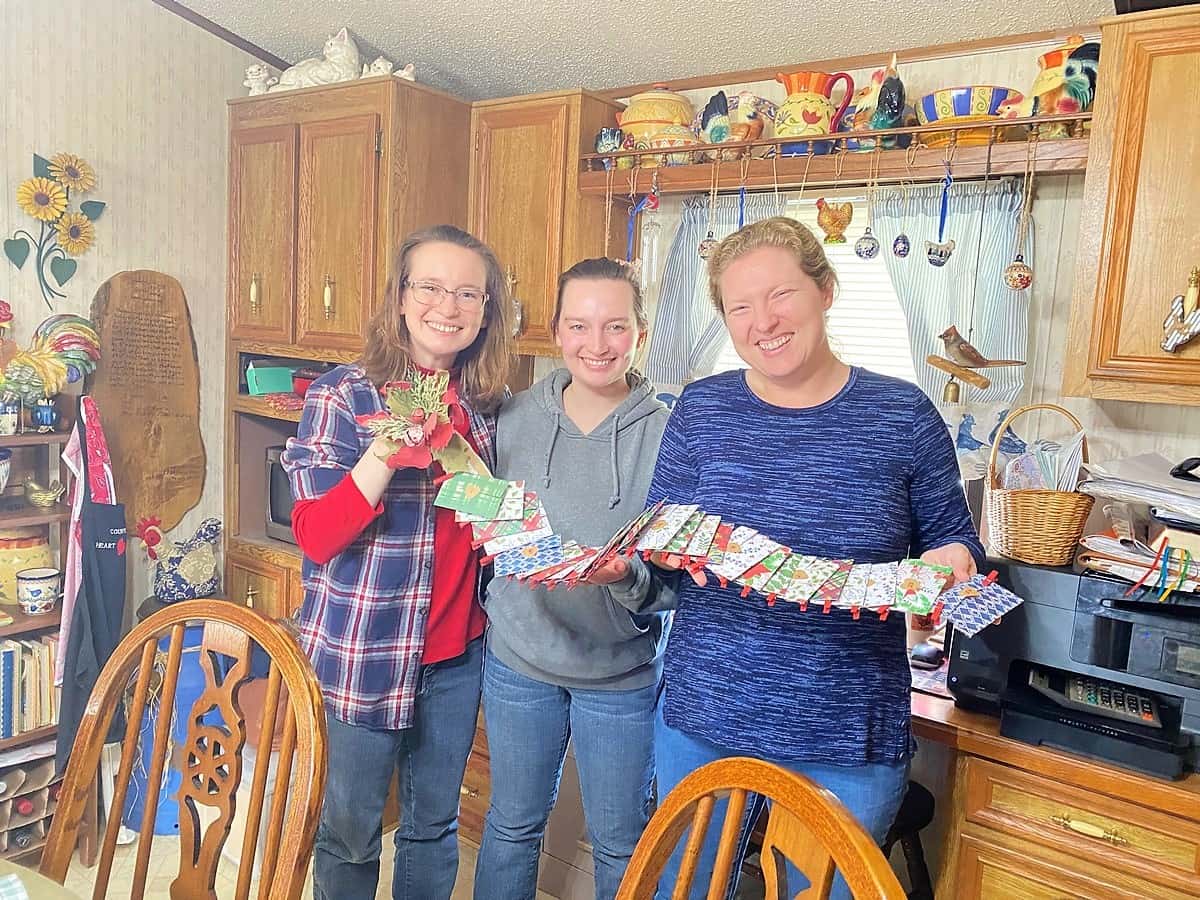
Our daughters are loving the various teas each day, and I enjoy hearing about their daily treasure. It has become a wonderful way to share the Christmas Season with each other.