
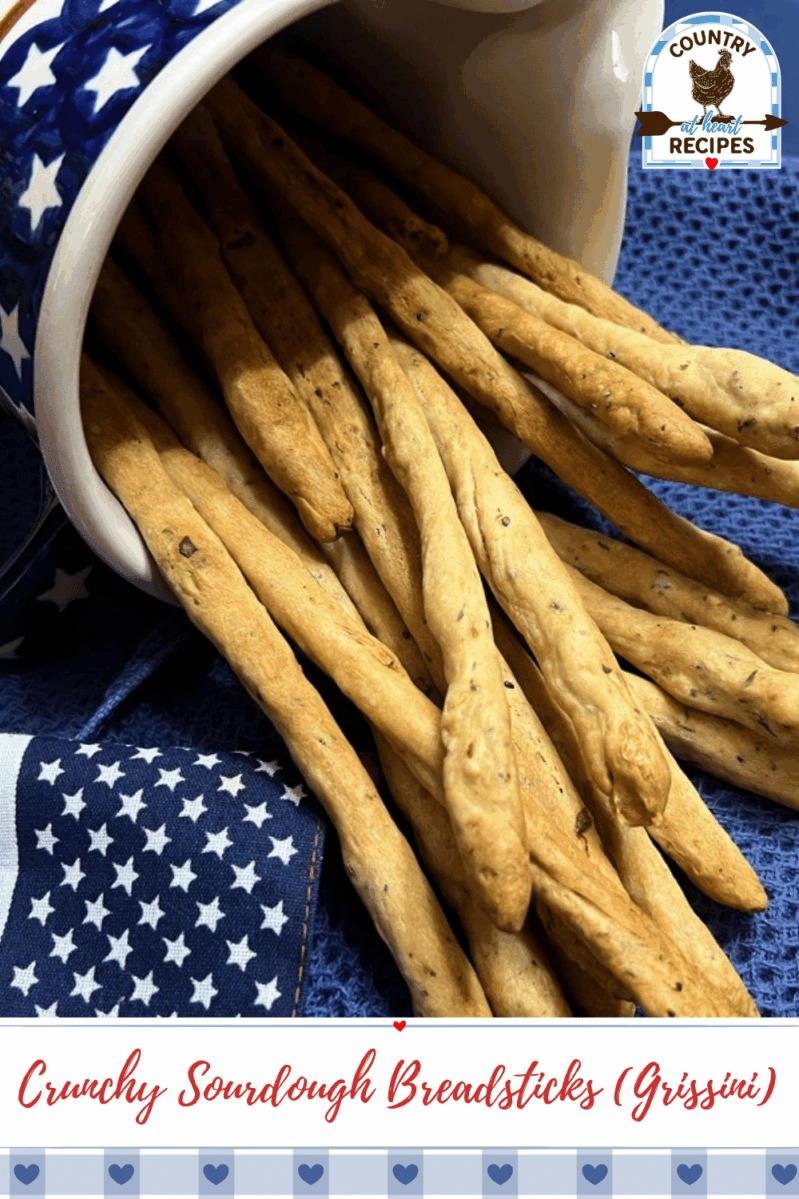
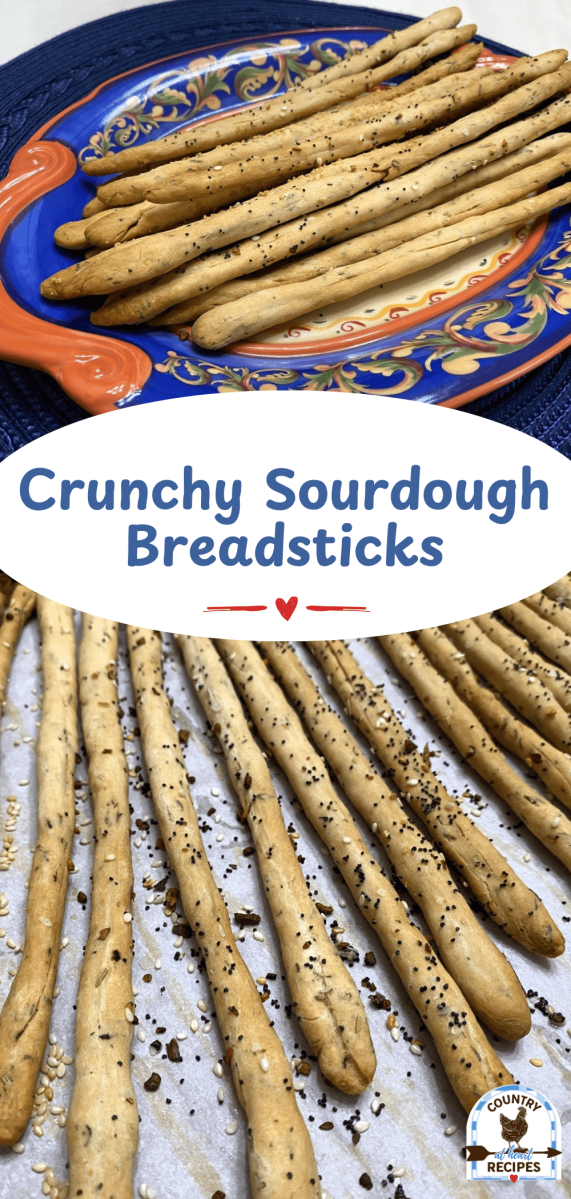


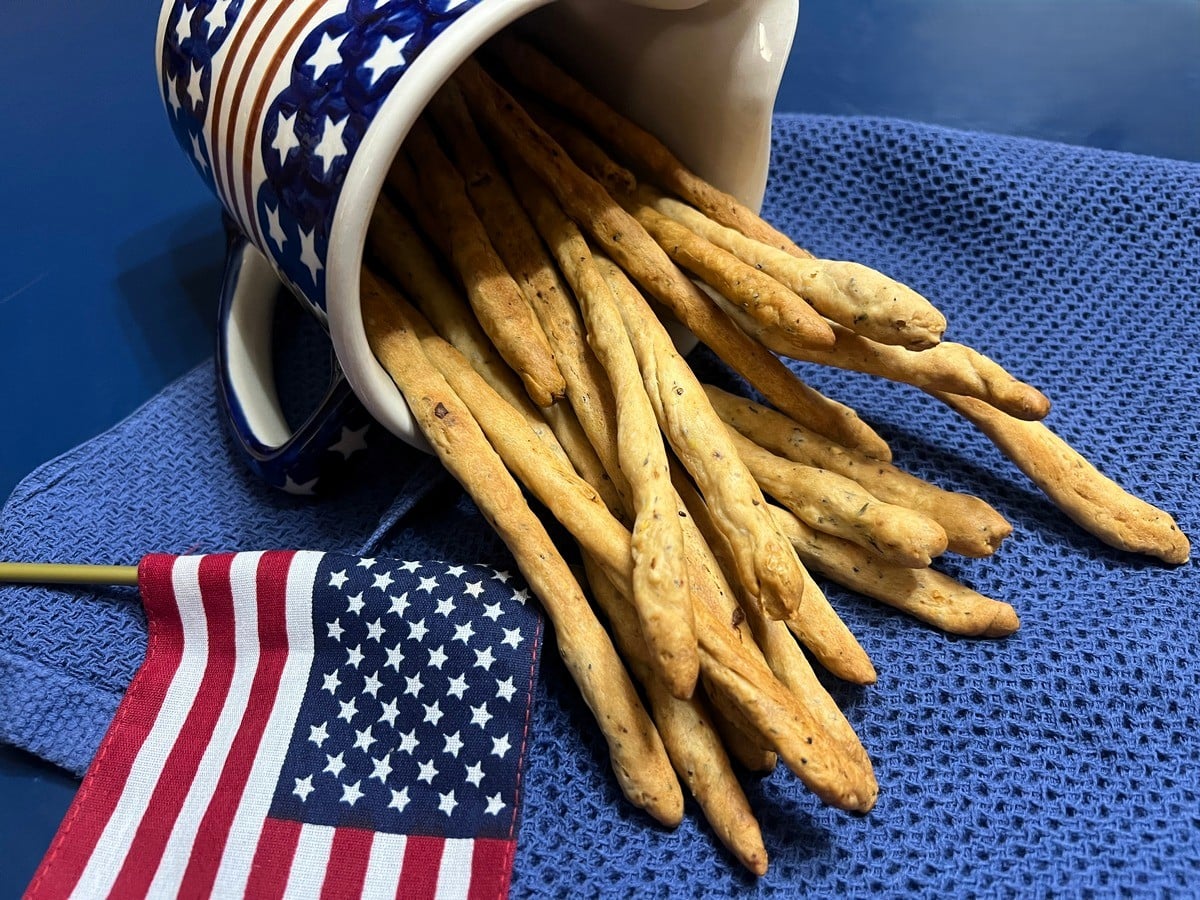
Crunchy Sourdough Breadsticks, also known as Italian Grissini, are wonderful with salads, soups, or even as an appetizer or snack. It’s a great way to use up your sourdough discard, too.

Grissini is a Fantastic Addition to Salads or Soups.
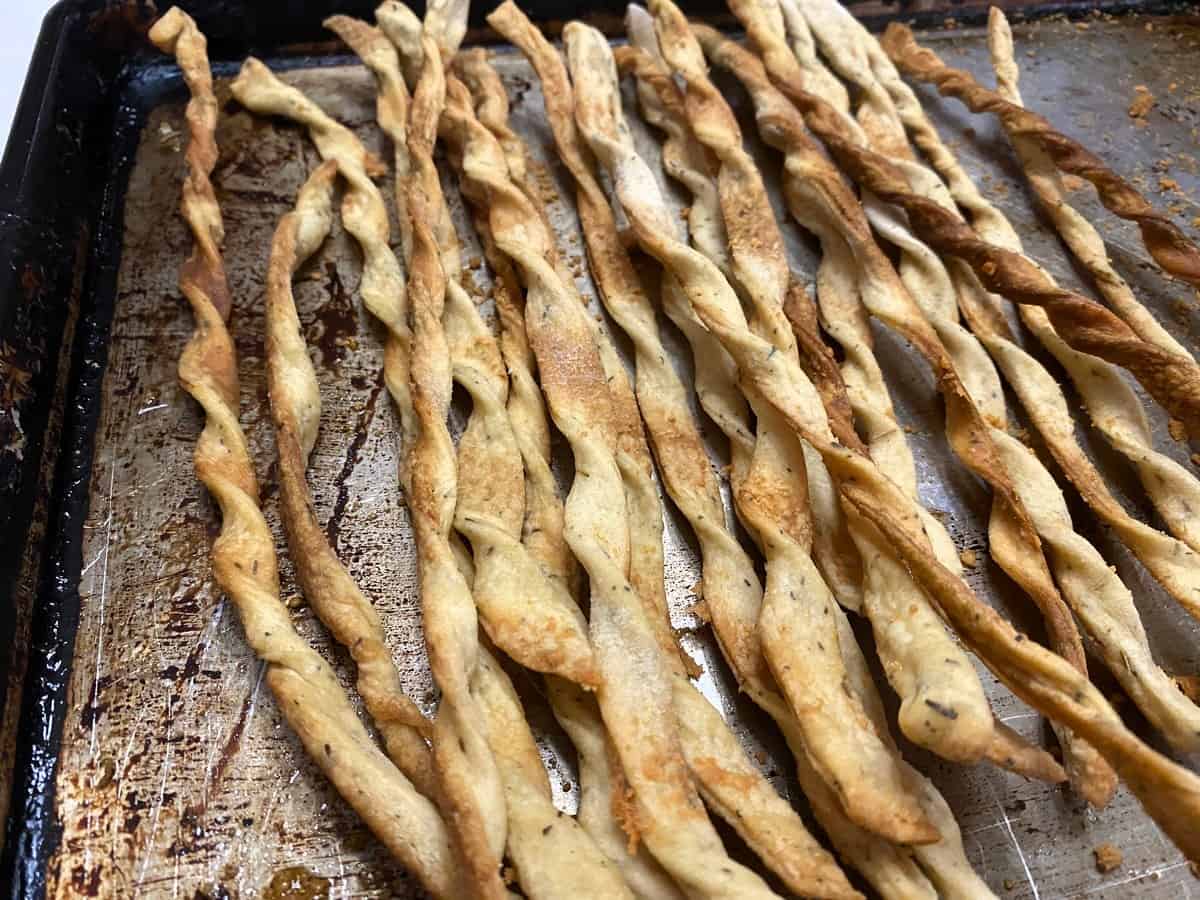
When I first made these crunchy breadsticks, I rolled them out flat and then sliced them into thin strips, with a twist. However, after finding Savour Bakes Original Grissini Breadsticks at Aldi, I decided to change up my recipe. And I’m so glad I did!
The Italians refer to these thin, hard and crispy breadsticks as Grissini, which originated in the late 1600’s in the region of Piedmont, Italy. You may read more on how these breadsticks came to be at The Noble Origins of Grissini.
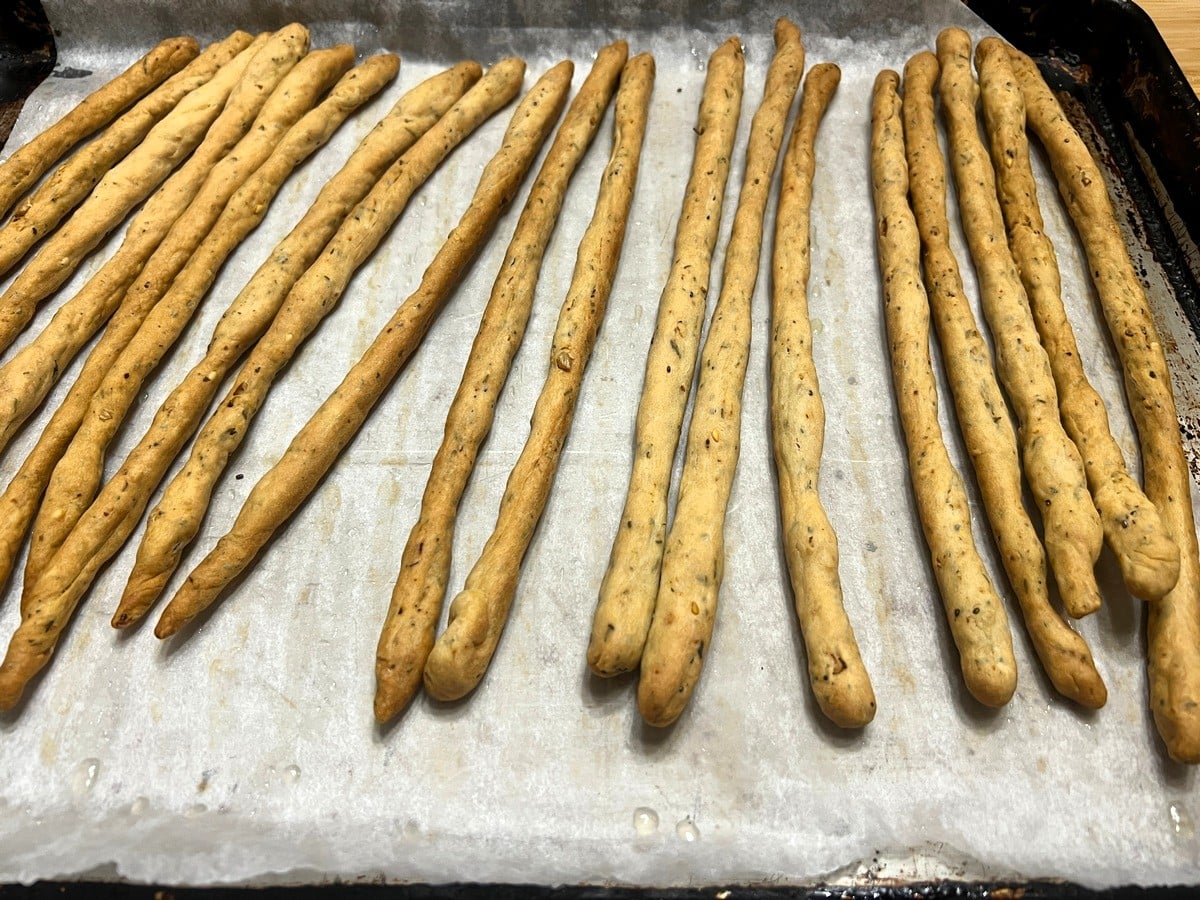
As expected, these round breadsticks are hard and crunchy, and quite flavorful. In fact, I am over-the-moon at how delicious they are!
What Home Cooks Are Saying About This Recipe
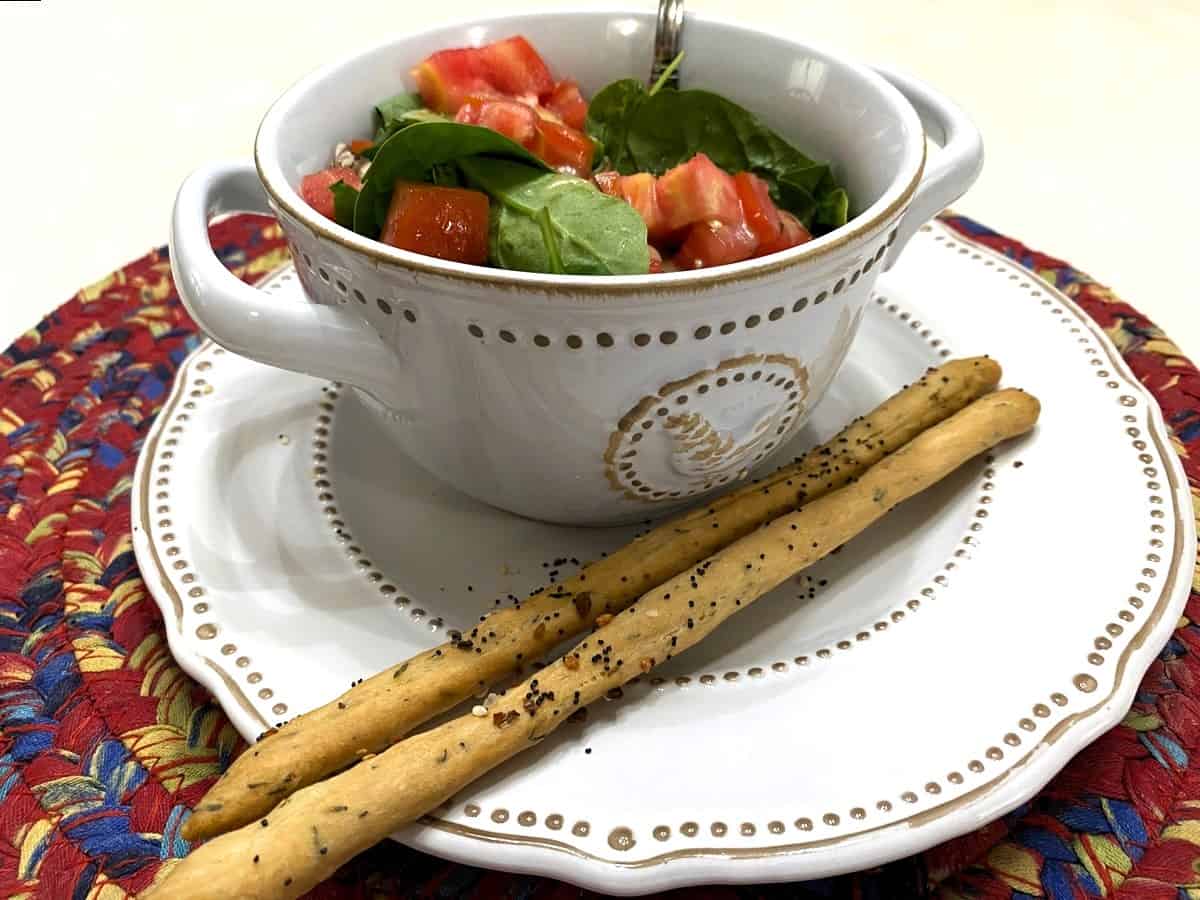
I love serving these breadsticks with a summer salad, or with soup in the spring or fall. They also work very well on an antipasto tray with dips and sauces. Or just to snack on in the afternoon–which I find myself doing all the time when these are around!
Using Your Sourdough Discard
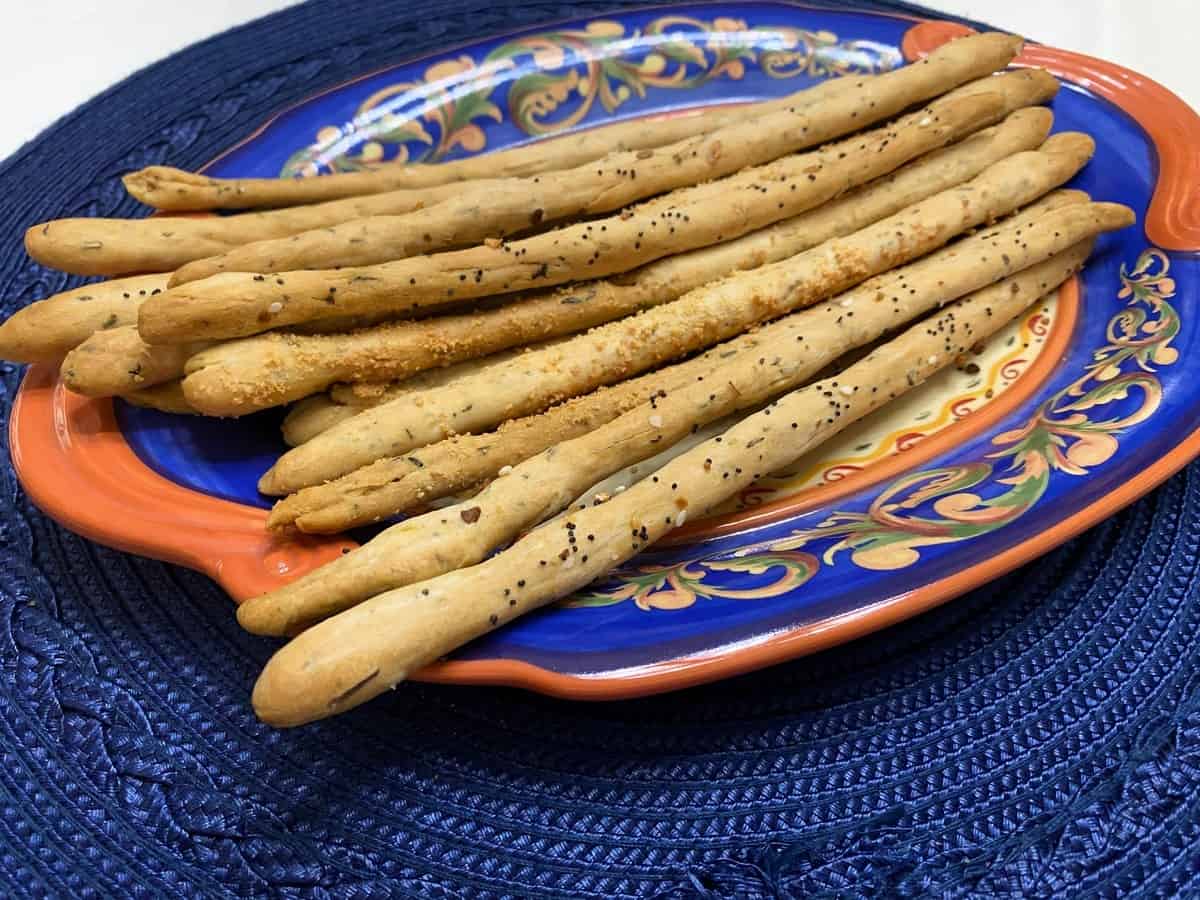
Once again, these breadsticks are a great way to use your unfed sourdough starter (or discard). Plus, they are relatively quick and easy to make, as there is no proofing time. I let them set covered after they have been hand-rolled, to allow them a little time to soak in the sourdough flavor before baking. But this step is not necessary.

The secret to their wonderful crunchy exterior and interior is a long slow bake, plus extra curing time in the oven to ensure crispiness. So yummy!
Ingredients for Crunchy Sourdough Breadsticks
(As a King Arthur Baking and Walmart Affiliate, I earn from qualified purchases at the links below. See the full recipe at the bottom of this post.)
Instructions for Making This Recipe
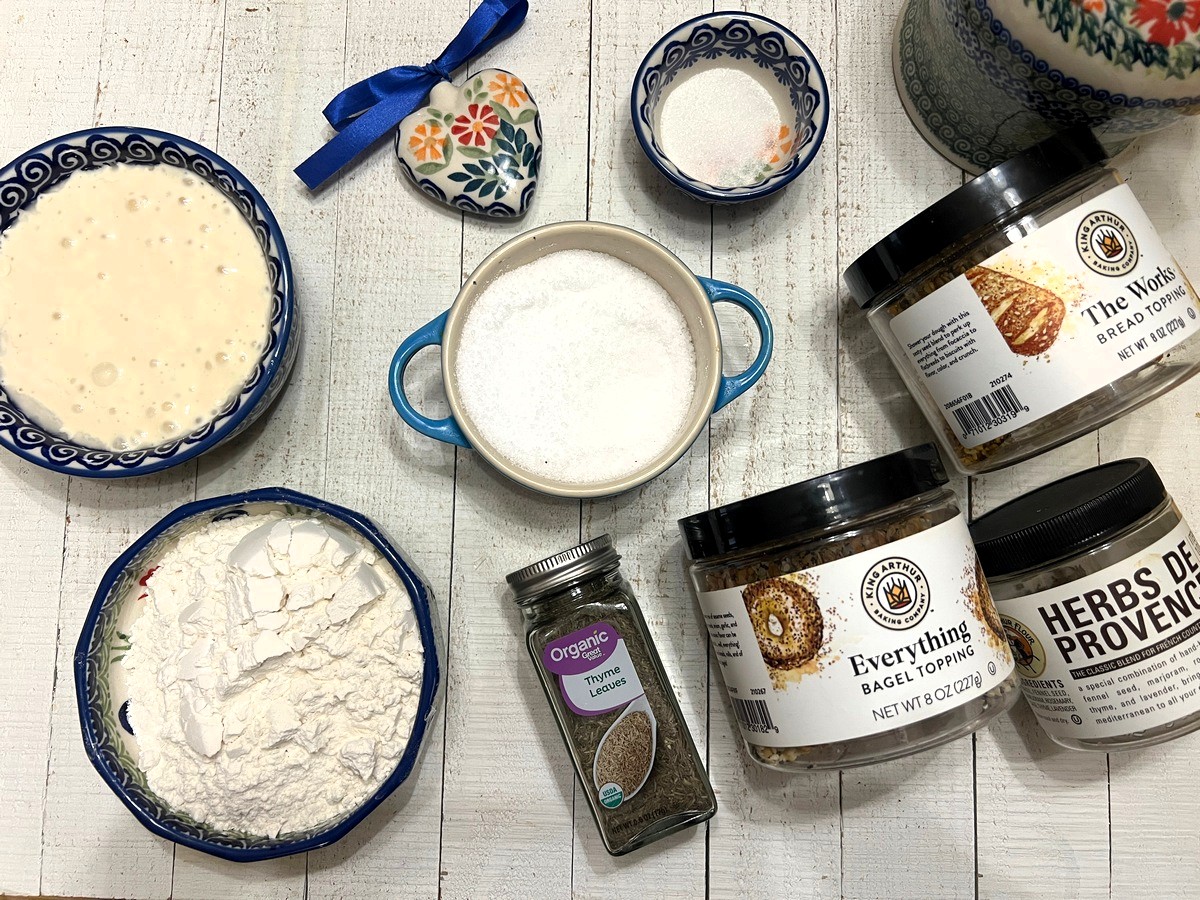
Preheat oven to 320°F. Gather the ingredients so that you have everything close at hand on the counter or table.
Line a baking sheet with parchment paper or a silicone baking mat.
as an amazon affiliate, i earn from qualified purchases at no price increase for you.
 Buy Now →
  Buy Now →
Silicone Pastry/Basting Brushes
Buy Now →Make the Dough
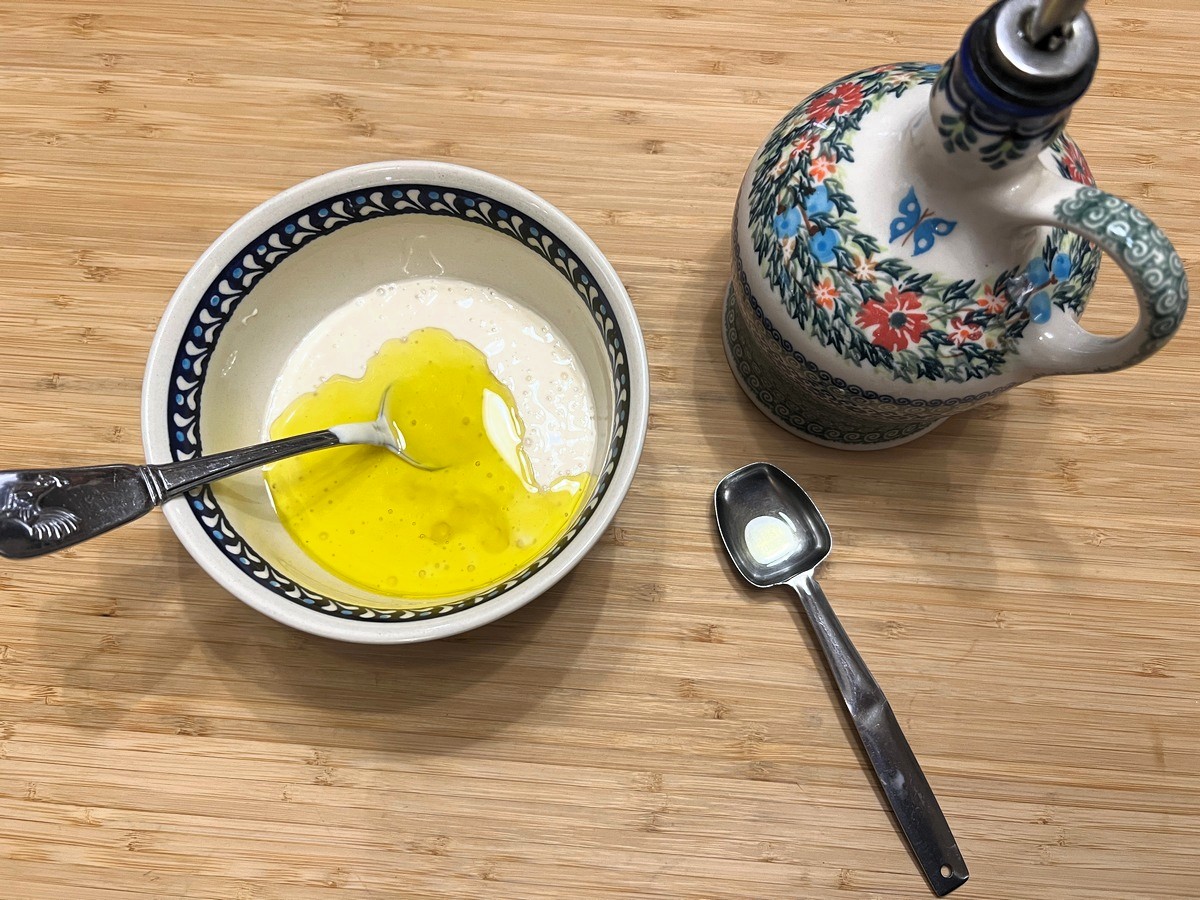
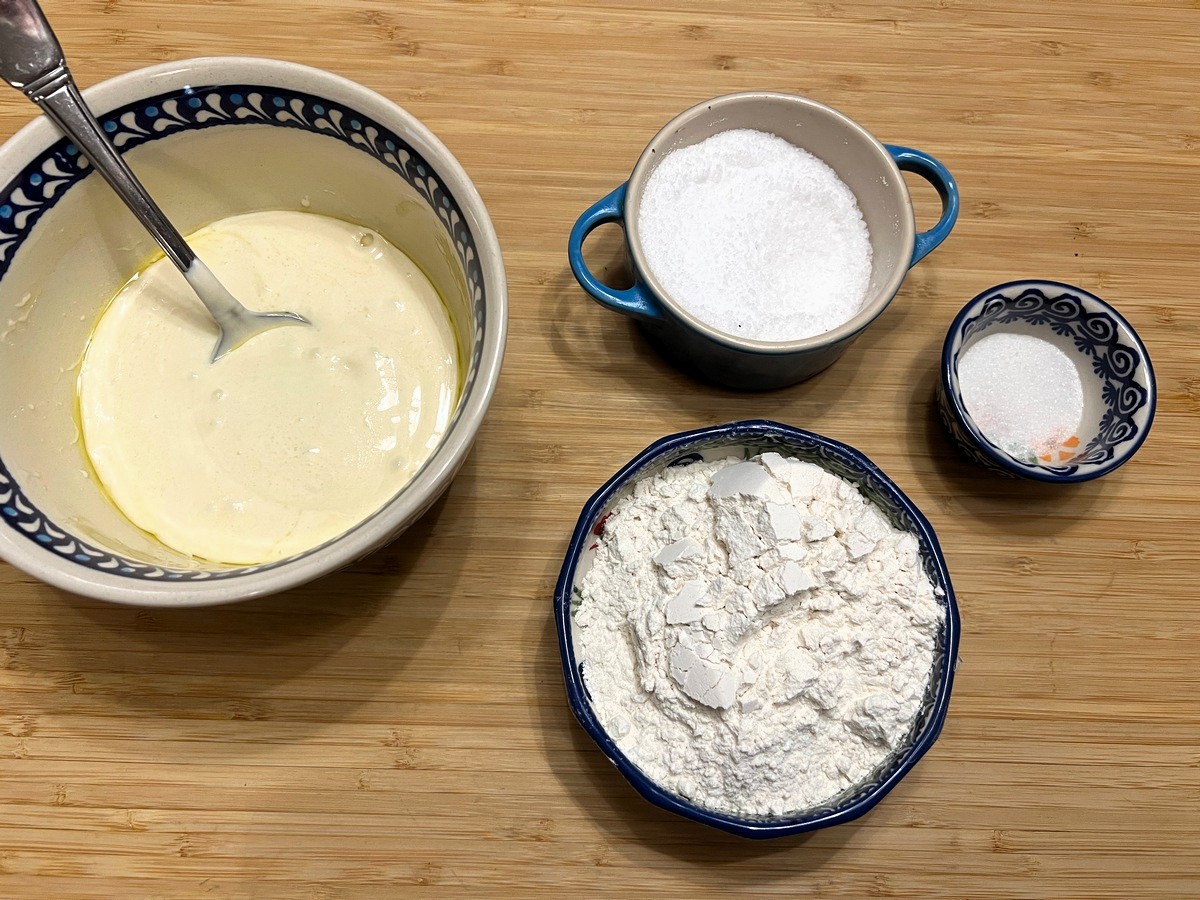
In a medium bowl, combine the unfed sourdough starter and extra-virgin olive oil. Add to this the all-purpose flour, granulated sugar, and kosher salt. Mix just to combine.
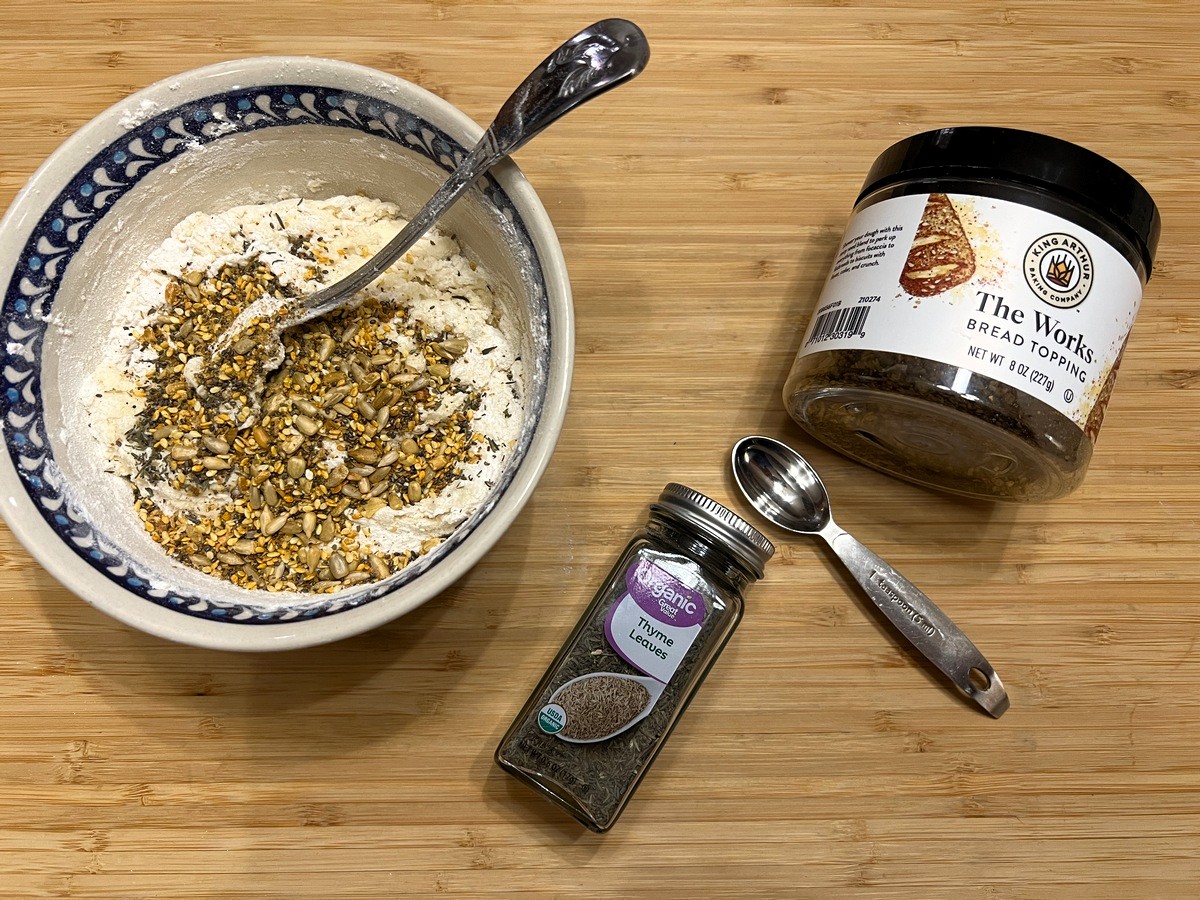
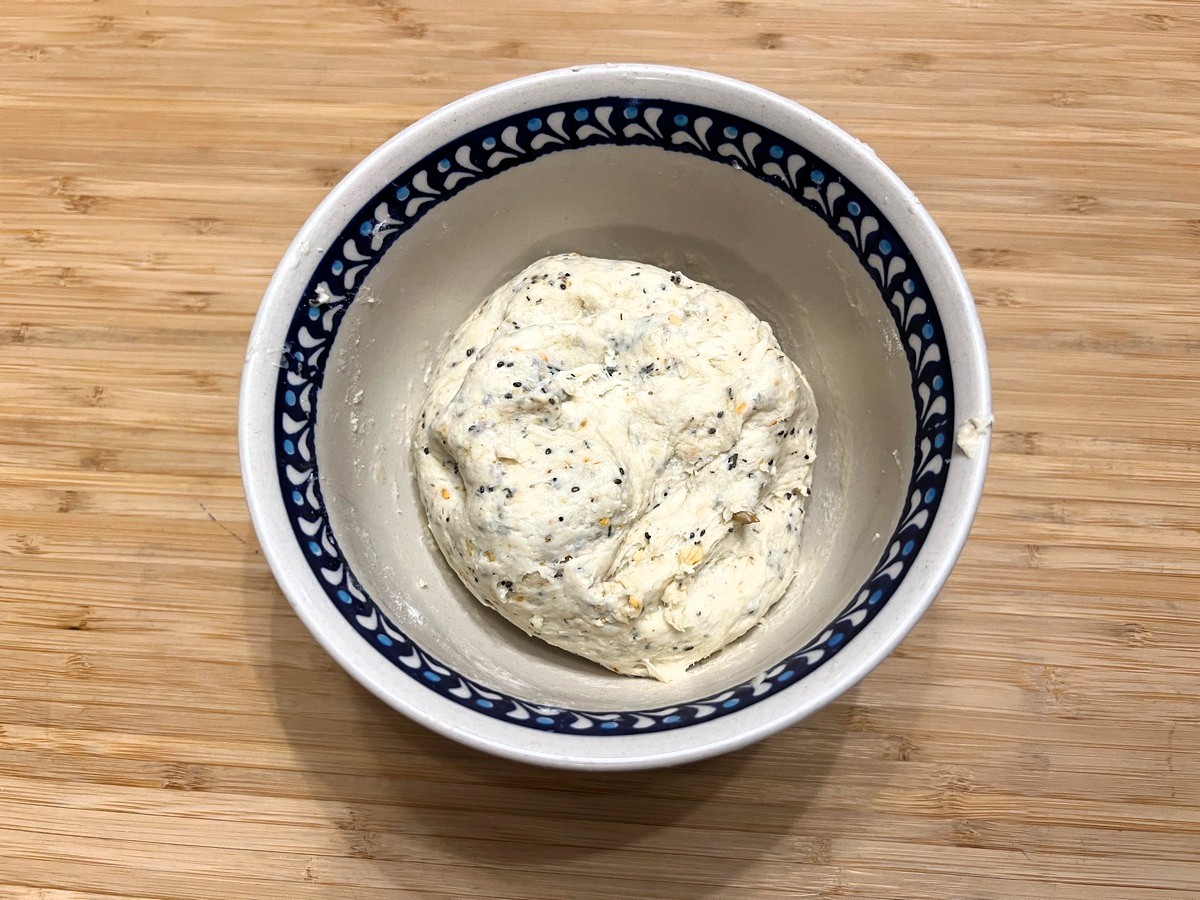
Next, add in the dried thyme and Everything Bagel Topping (or The Works or Herbs de Province). Mix well, kneading until smooth and elastic.
I now mix The Works or Everything Bagel Topping into the dough at this time, rather than adding it as a topping. I’ve found that this works better with less waste and frustration.
Cover and allow dough to rest for at least 10 minutes.
Prepare the Breadsticks
Divide the dough in half, and then divide each half into 10 equal pieces.
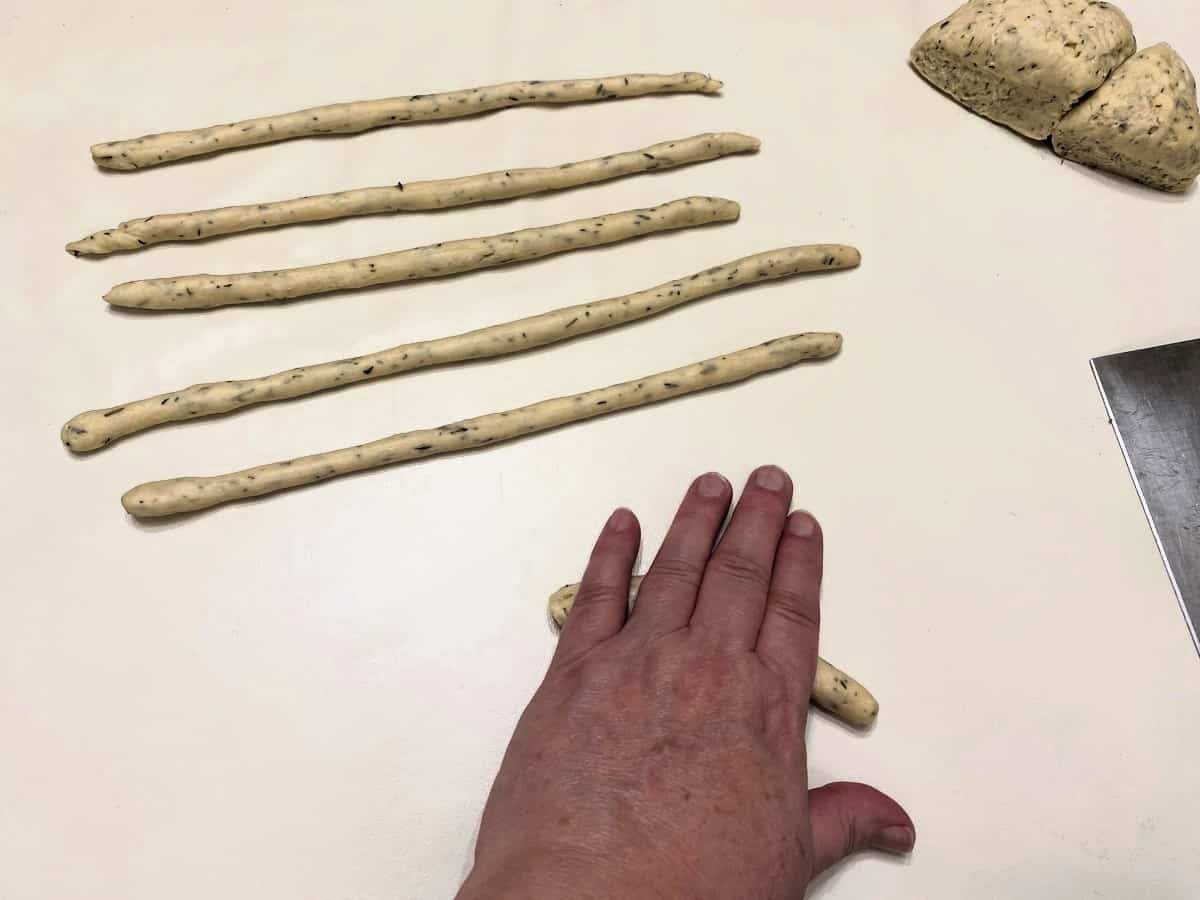
Using your hands, roll each piece into a long, thin stick or rod, approximately 10-11 inches. I didn’t worry too much about the length of each stick, but tried to keep the diameter of each stick the same for even baking, about 3/8″ or the size of a pen or pencil.
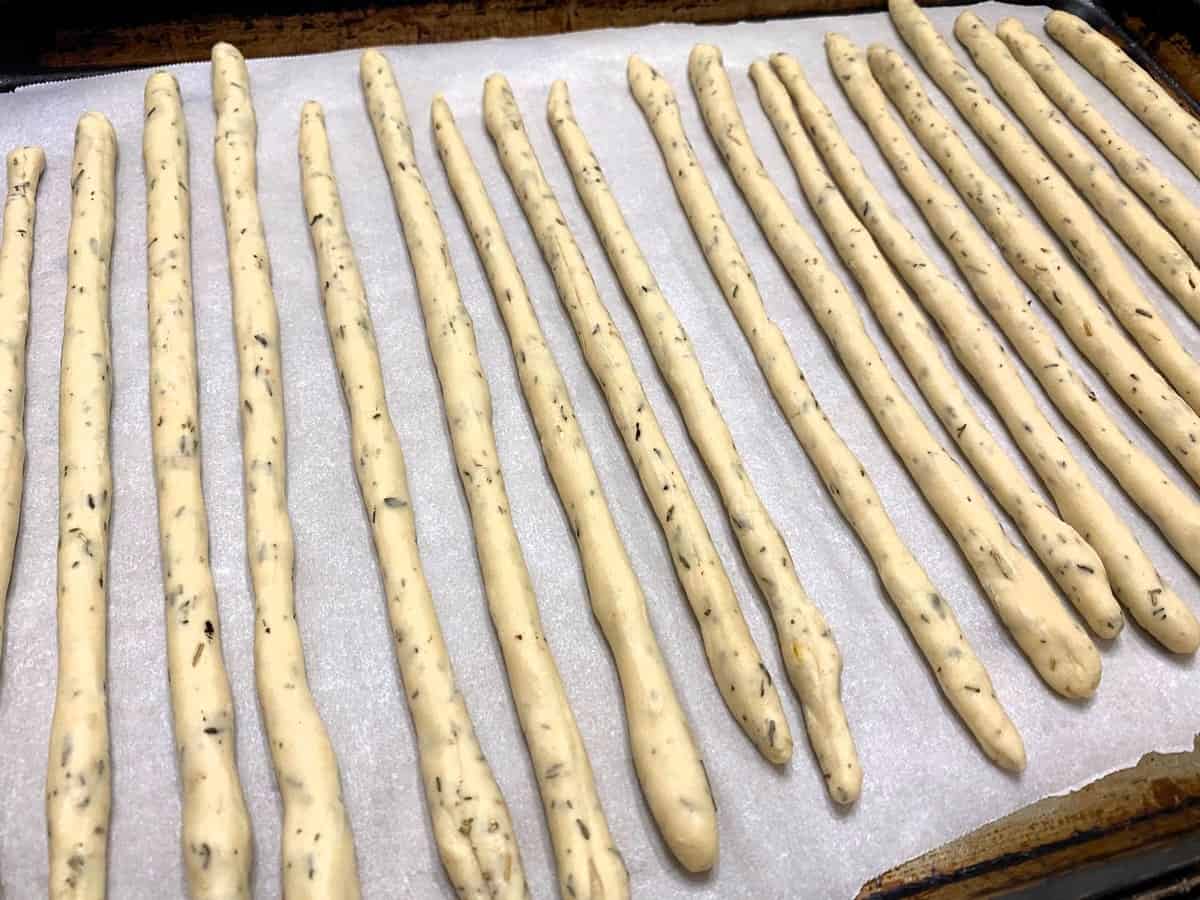
Transfer each stick to the prepared baking sheet. Repeat with the remaining dough. I was able to fit all of the breadsticks on the baking sheet, as they don’t really expand when baking.
Cover the breadsticks with plastic wrap or a clean tea towel for up to an hour to enhance the sourdough flavors. (This step is optional, but I recommend it for the best taste.)
Season and Bake the Grissini
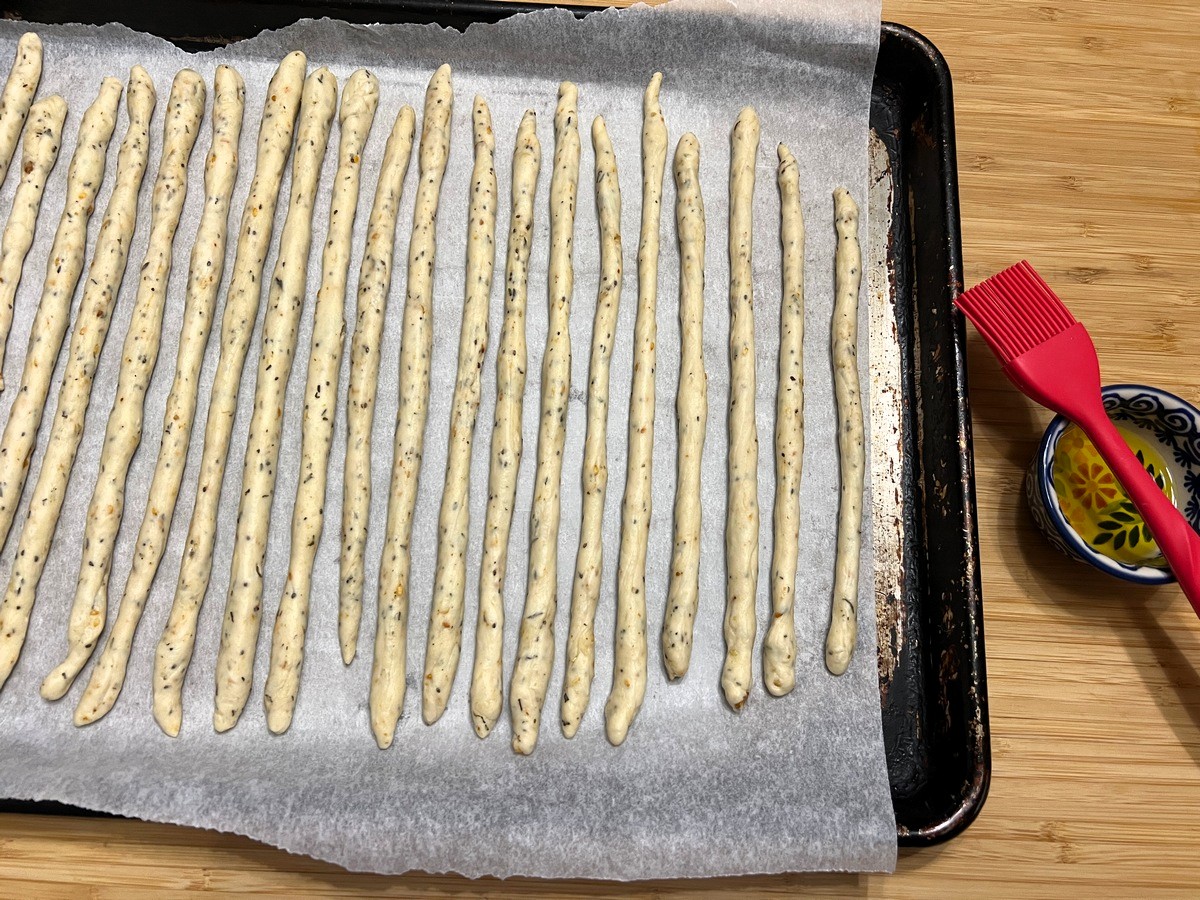
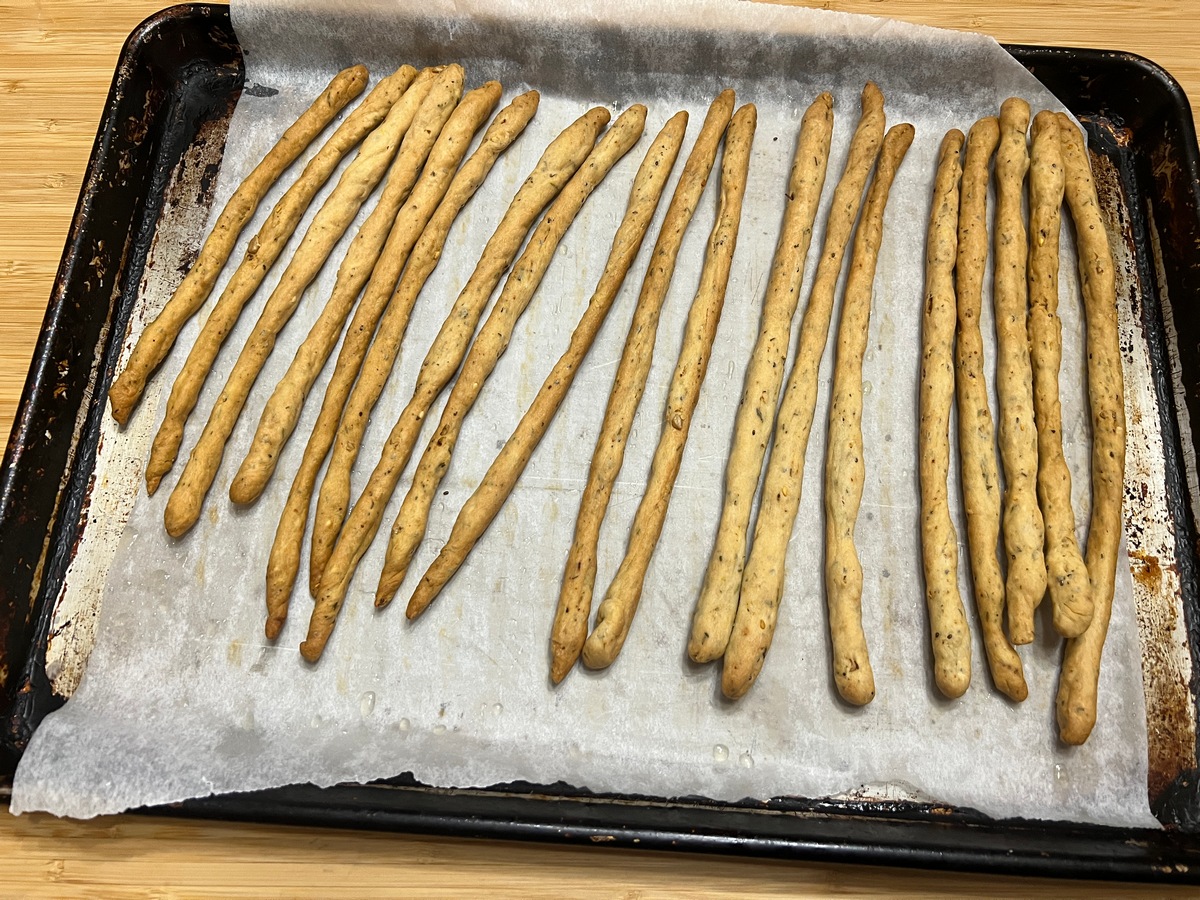
Spread extra-virgin olive oil over the breadsticks with a pastry brush. Then top with freshly grated Parmesan cheese, if desired. Bake in preheated oven for a total of 40-45 minutes until golden brown, turning the pan after 20 minutes to ensure even browning.
For even more crunchiness, turn off the oven and allow the breadsticks to cure in the oven with the door ajar for at least 20 minutes. This is a procedure that I follow for my Tangy Sourdough Bread, and it works wonderfully.
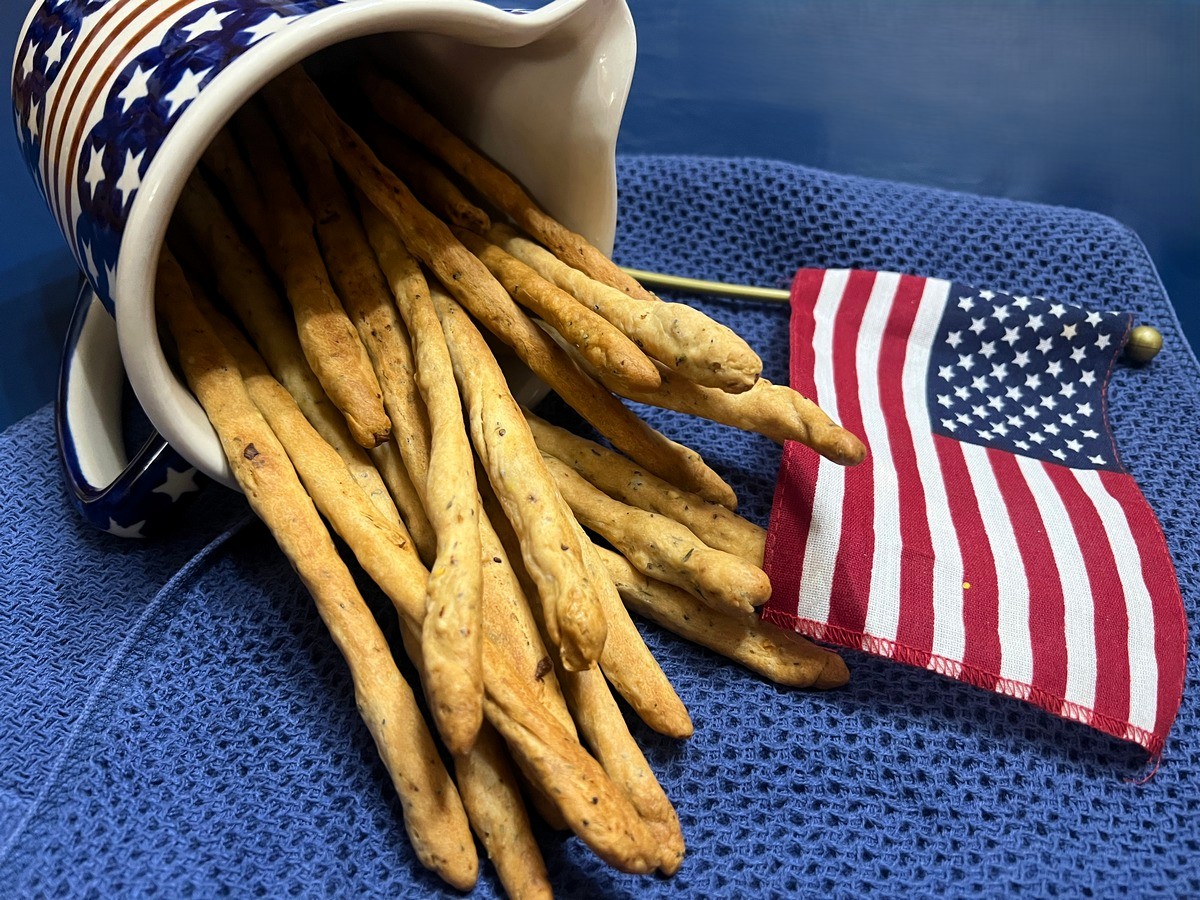
Serve breadsticks with a tossed salad, your favorite soup, or on an appetizer or snack tray.
This recipe will make 20 breadsticks and will serve 8-10 people. Feel free to double the recipe as needed.
To store, place cooled breadsticks in a tightly sealed container or plastic bag for up to 3 weeks at room temperature, but I doubt they will last that long!
Browse Similar Categories
Crunchy Sourdough Breadsticks (Grissini)
Ingredients
- 1 cup sourdough starter discard "unfed"
- 3 tablespoons extra-virgin olive oil divided
- 1 cup all-purpose flour
- 1 teaspoon granulated sugar
- 1 teaspoon dried crushed rosemary
- 1 teaspoon dried thyme
- 1/2 teaspoon kosher salt
- 2 tablespoons Everything Bagel Topping
- 2 tablespoons Parmesan cheese freshly grated


(As an Amazon Associate, I earn from qualifying purchases.)
Instructions Click to Start Cooking
- Preheat oven to 320℉. Gather the ingredients so that you have everything close at hand on the counter or table.
- Line a baking sheet with parchment paper or a silicone baking mat.
- In a medium bowl, combine 1 cup (250 g) sourdough starter discard "unfed", and 2 tablespoons extra-virgin olive oil. Mix together to combine.
- Add to this 1 cup (125 g) all-purpose flour, 1 teaspoon (4.93 ml) granulated sugar, 1 teaspoon (4.93 ml) dried thyme, 1/2 teaspoon (2.46 ml) kosher salt, and 2 tablespoons (29.57 ml) Everything Bagel Topping. Mix well, kneading until smooth and elastic.
- Cover and let dough rest for at least 10 minutes.
- Divide the dough in half, and then divide each half into 10 equal pieces.
- Using your hands, roll each piece into a long, thin stick or rod, approximately 10-11 inches. I don't worry too much about the length of each stick, but try to keep the diameter of each stick the same for even baking, about 3/8" or the size of a pen or pencil.
- Transfer each stick to the prepared baking sheet. Repeat with the remaining dough.
- Cover the breadsticks with plastic wrap or a clean tea towel for up to an hour to enhance the sourdough flavors.
- Spread remaining 1 tablespoon extra-virgin olive oil over the breadsticks with a brush. If desired, sprinkle the tops with 2 tablespoons (29.57 ml) Parmesan cheese freshly grated.
- Bake in preheated oven for a total of 40-45 minutes until golden brown, turning the pan after 20 minutes to ensure even browning.
- Makes 20 breadsticks.

Hello Deborah! After mixing the dough, could I leave it on the counter or the fridge for a long ferment? We have celiac in our family but are able to tolerate sourdough well when long fermented. Thank you, this recipe looks delicious!
Hi Alex, Yes, of course, you may leave the dough in the fridge for several days. Of course, the longer it’s there, the more sour it will become. I’ve done this for up to 2 days, but not longer, so cannot say how strong it will get. We love these breadsticks. I hope they will work for you!
I was wondering how long these keep? Do they freeze well and stay crunchy? Thank you!
Hi Karen, These breadsticks stay crunchy for a long time stored at room temperature. I’ve had them for at least 3 weeks, if not longer. However, they would freeze well, too, if you want to store them for up to 3 months.
About 4:00 yesterday afternoon I was reading through these recipes and I was so intrigued with this one that I decided to make them for supper, to go with the Antipasto Rotini Salad. So glad I did! Wow, talk about easy and quick….I only let them set for about 45 minutes before I baked them in my countertop oven. I had to use two pans because of the size but it worked out great that way because I put Parmesan cheese on one panful and Everything Bagel on the other. I didn’t get enough of that one because I could hardly see it nor taste it while eating it. LOL, no matter….it was great anyway! But next time I’ll be more heavy handed. My granddaughter, daughter and I have a three-way group text going all the time so I snapped a pic of the salad and breadsticks for them. They loved it and my daughter’s first question was, DID YOU MAKE THOSE BREADSTICKS? She knows I’ll make her some…. thanks, Deborah. I’m really loving your new website, by the way. And your pictures are great, too.
I’m so glad that you enjoyed these breadsticks. We think they are amazing, and so easy to prepare! I have recently started adding the everything bagel seasoning into the breadsticks, as they just never stuck as well as I wanted them to on the outside. 🙂 Parmesan works well on the outside, as does garlic powder, if you want more of a pronounced flavor. Thank you for sharing, and for sharing with your daughters!!
These are quick and easy and turned out delicious! Thanks for sharing. Excellent way to use your discard starter.
Hi Jen, Thank you so much for stopping by and leaving a comment. I’m glad you enjoyed the sourdough breadsticks. They are one of my favorites for summer and salads!