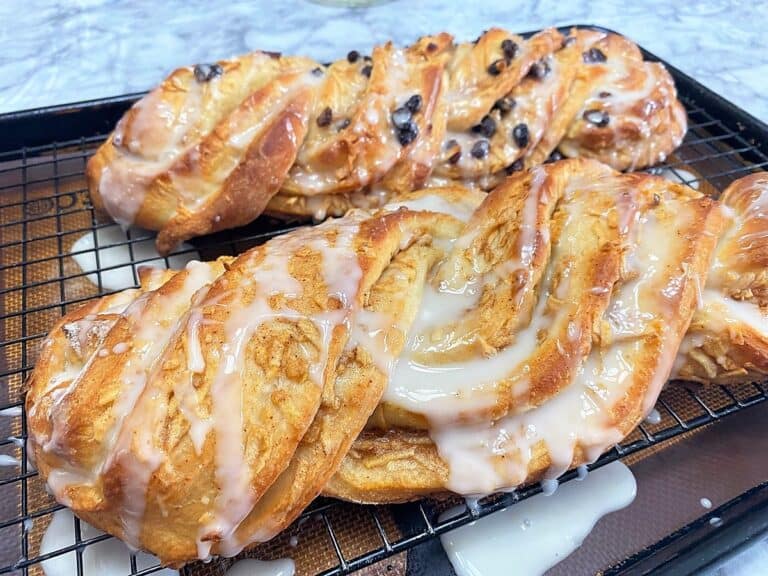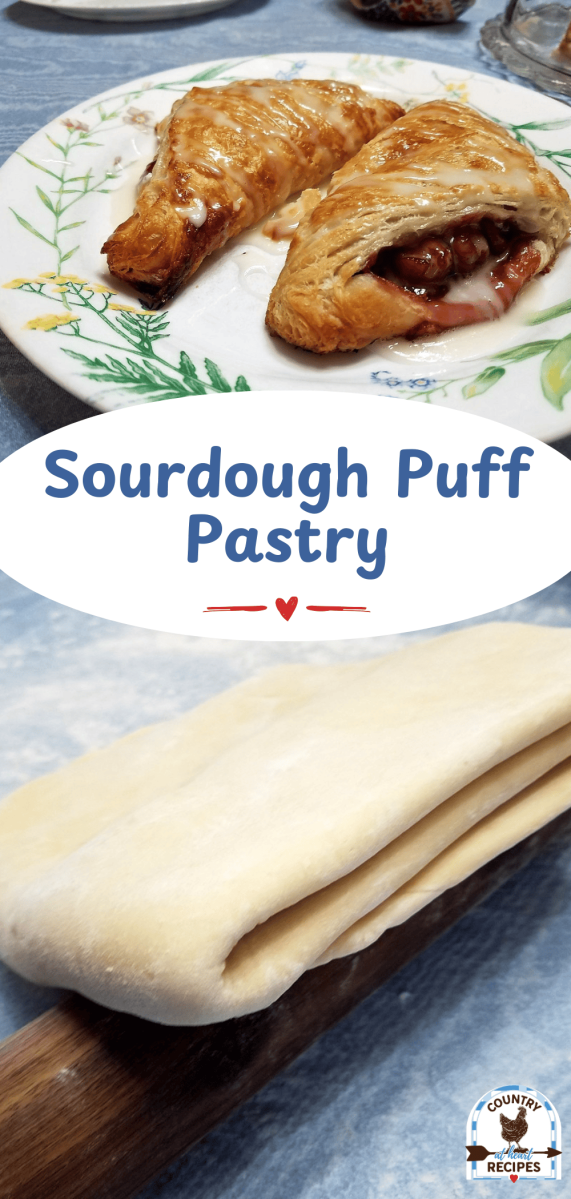


Sourdough Puff Pastry is a great way to use your sourdough discard, and puff pastry can be used in so many ways. For tarts, toppings for pot pies, to make appetizers, or even the covering for Beef Wellington.

I’ve been using my sourdough starter since 2013 and only recently began experimenting with puff pastries and croissants. I cannot believe how much fun I’ve been missing out on! Making puff pastry takes time. Hours of it. But it’s easy work and the results are simply wonderful. The tanginess from the sourdough is not off-putting at all, but rather compliments the pastry quite well. See my recipe for Sourdough Chocolate Croissants Here.
Ingredients for Sourdough Puff Pastry
(As a Walmart Affiliate, I earn from qualified purchases at the links below. See the full recipe at the bottom of this post.)
Instructions for Making this Recipe
Gather your ingredients so that you have everything close at hand on the counter or table.
Step 1 – Making the Dough
Using a large mixing bowl, combine the all-purpose flour, sourdough starter, water, softened butter, and kosher salt. Mix together using a dough whisk or wooden spoon until the dough comes together and all the flour is mixed in. Add more water by tablespoons if needed for the dough to form a ball.
Place the dough in a bowl coated in cooking spray. Cover with plastic wrap and refrigerate for 8-20 hours.
Step #2 – Preparing the Butter Layers
Cut two 12″ x 12″ pieces of parchment paper and lay one on the counter or workspace. Slice the cold European butter into tablespoons and lay them on one half of the paper to form a square. Place the second piece of parchment paper over the top to cover the butter.
If possible, use European butter for the lamination process. While more expensive, European butter has a higher fat content than butter from the US, perfect for flaky pastries such as croissants and puff pastry. I can always find Kerrygold butter and sometimes Plugra in our local grocery stores.

Using a rolling pin or the flat side of a meat tenderizing mallet, beat the cold butter to flatten and warm it, Continue beating it until it has flattened and spread to form an 8″ x 8″ square. The butter should be firm by pliable at this point. Place in the refrigerator until ready to use.
Step #3 – Laminating the Dough
Take the cold dough from the refrigerator and place it on a lightly floured workspace. Using a rolling pin, gently roll the dough into a square that is 12″ x 12″.
Remove butter from the refrigerator and take off the top piece of parchment paper from the butter. Place the butter on the dough so that it’s a diamond on a square. Peel off the remaining piece of paper.
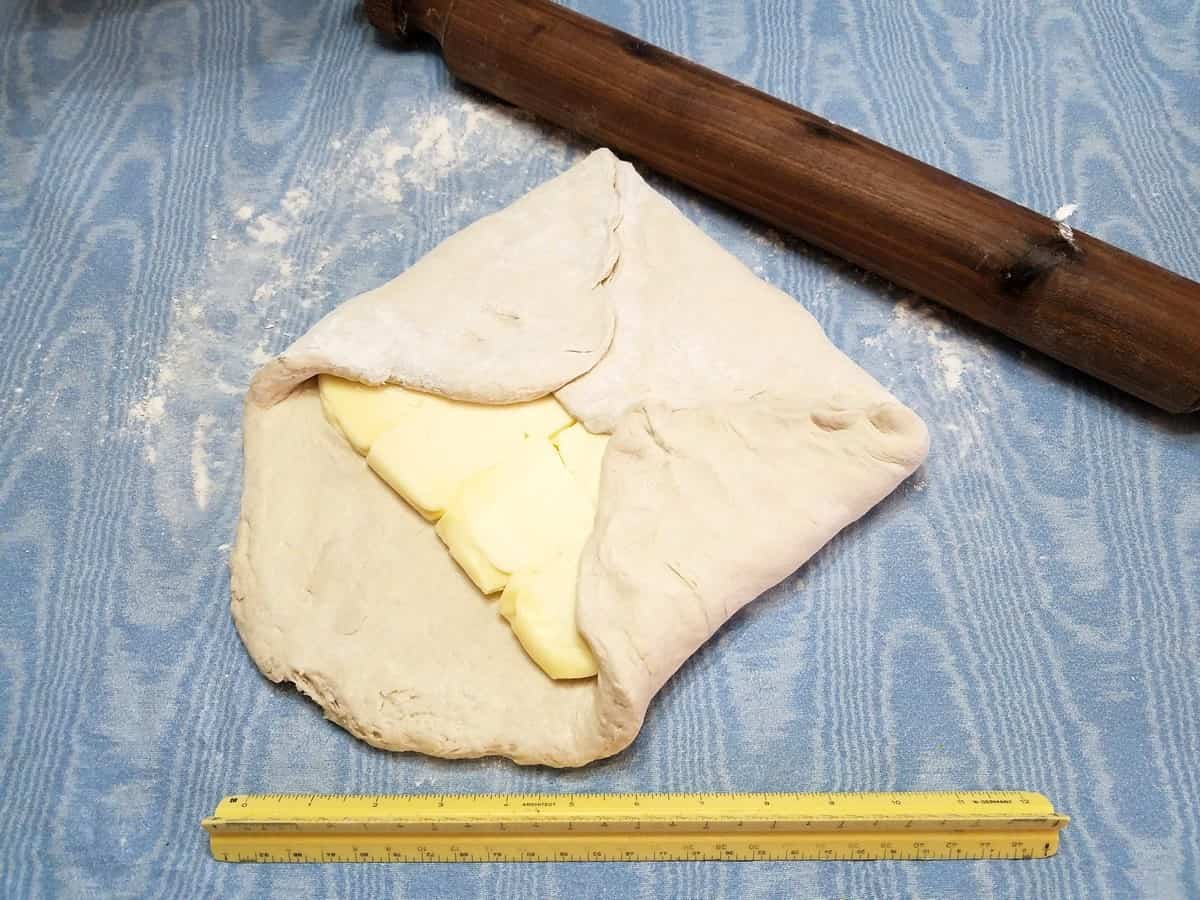
Fold the corners of the dough to meet in the center and cover the butter. Pinch the ends together to seal, then lightly tap the dough with the rolling pin to flatten and secure the seams. You should now have a butter-enclosed dough square that is 8″ x 8″.
Step #4 – Turning the Dough
Using a rolling pin, roll the dough into an 8″ x 24″ rectangle. Roll gently so you don’t manipulate the butter too much. (You want the butter to stay in one layer and not get clumped up.)

Fold the right 1/3 of dough toward the middle, and then fold over the left 1/3 of dough like a trifold letter. This is called the “first turn.”
Pivot the dough 90 degrees so that the sides are now the top and bottom. Using a rolling pin, roll out the dough to form an 8″ x 24″ rectangle. Once more, fold the dough in thirds like a letter. This is the “second turn.”
Cover the folded dough in plastic wrap or waxed paper freezer bag and refrigerate for at 30 minutes.
After the resting time, roll the dough into an 8″ x 24″ rectangle and fold the dough like a letter. This is the “third turn.” Repeat as before for a “fourth turn.” Place the dough in plastic wrap or waxed paper and refrigerate for 30 minutes.
Through all these steps of folding and rolling, if any butter pops through the dough, simply rub some flour on it and press it back into the dough.

Repeat the rolling and folding for the final two turns. You will now have turned the dough a total of six turns. Place the dough in the plastic wrap or waxed paper and refrigerate for at least 2 hours.
You may also freeze it at this point, if desired, for up to 4 months.
Step #5 – Baking the Puff Pastry

To use, roll the dough to 1/8″ – 1/4″ thickness and cut into desired shapes. Fill with a favorite fruit or cream or use in a favorite puff pastry recipe. Bake in a preheated 400°F oven for 15-20 minutes until crisp and golden brown.
If using frozen dough, be sure to thaw it out in the refrigerator before rolling.
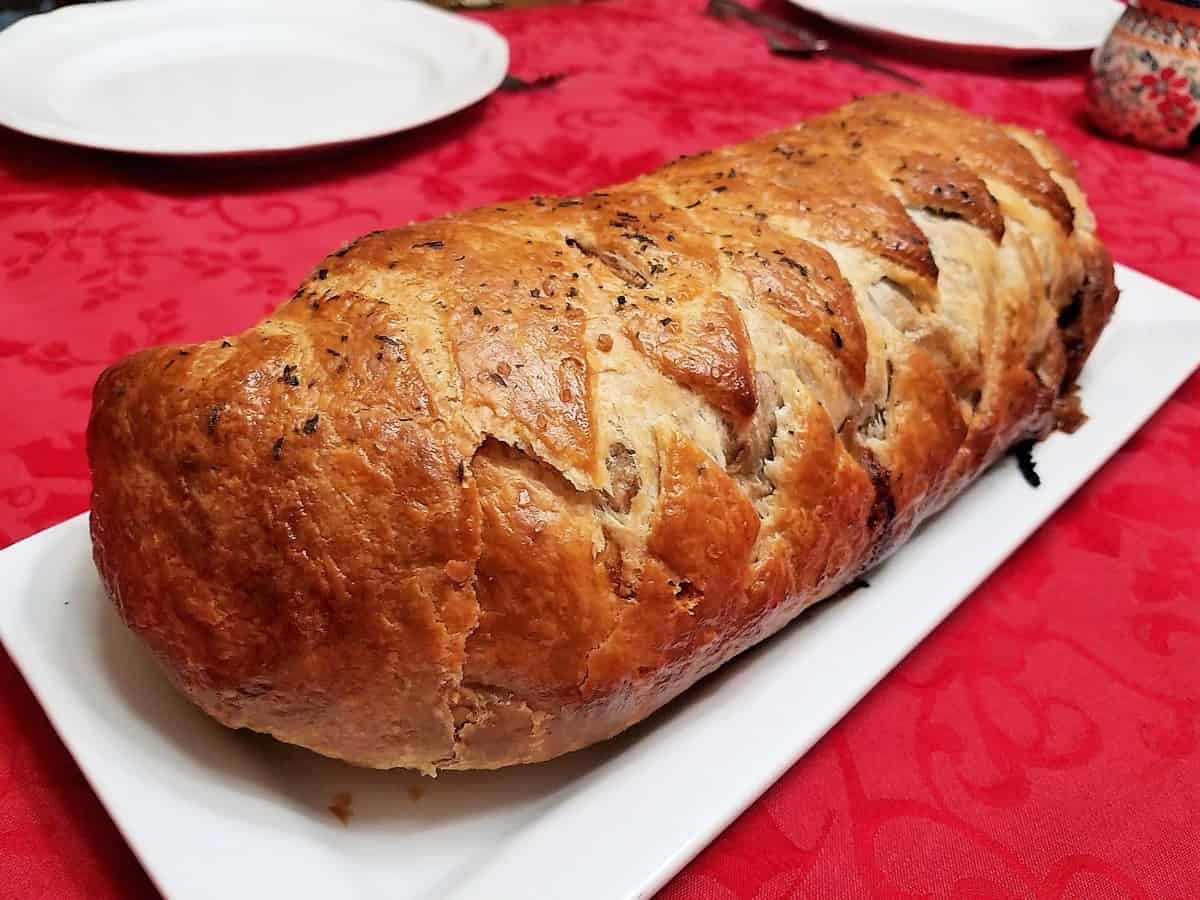
Use puff pastry to make appetizers, fruit tarts, a covering for pot pies, puff sticks, or even Beef Wellington. See my Recipe for Elk Wellington Here.
This recipe makes enough for 2 sheets of puff pastry and will serve approximately 16 people.
If desired, you may cut this recipe in half, following directions as written with the exception of rolling the dough into 8 x 12 – inch rectangles when turning the dough instead of 8 x 24 – inch rectangles.
Browse Similar Categories

Sourdough Puff Pastry
Ingredients
- 3 1/2 cups all-purpose flour
- 1 cup sourdough starter fed and active
- 2/3 cups cold water plus extra if needed
- 4 tablespoons butter room temperature
- 1/2 teaspoon kosher salt
- 2 cups European butter for lamination


(As an Amazon Associate, I earn from qualifying purchases.)
Instructions Click to Start Cooking
- Gather your ingredients so that you have everything close at hand on the counter or table.
- Using a large mixing bowl, combine 3 1/2 cups (437.5 g) all-purpose flour, 1 cup (250 g) sourdough starter fed and active, 2/3 cups (1.58 dl) cold water plus extra if needed, 4 tablespoons (59.15 ml) butter room temperature (softened), and 1/2 teaspoon (2.46 ml) kosher salt. Mix together using a dough whisk or wooden spoon until the dough comes together and all the flour is mixed in. Add more water by tablespoons if needed for the dough to form a ball.
- Place the dough in a bowl coated in cooking spray or olive oil. Cover with plastic wrap and refrigerate for 8-20 hours.
- Cut two 12" x 12" pieces of parchment paper and lay one on the counter or workspace. Slice 2 cups (473.18 g) European butter for lamination into tablespoons and lay them on one half of the paper to form a square. Place the second piece of parchment paper over the top to cover the butter.
- Using a rolling pin or the flat side of a meat tenderizing mallet, beat the cold butter to flatten and warm it, Continue beating it until it has flattened and spread to form an 8" x 8" square. The butter should be firm by pliable at this point. Place in the refrigerator until ready to use.
- Take the cold dough from the refrigerator and place it on a lightly floured workspace. Using a rolling pin, gently roll the dough into a square that is 12" x 12".
- Remove butter from the refrigerator and take off the top piece of parchment paper from the butter. Place the button on the dough so that it's a diamond on a square. Peel off the remaining piece of paper.
- Fold the corners of the dough to meet in the center and cover the butter. Pinch the ends together to seal, then lightly tap the dough with the rolling pin to flatten and secure the seams. You should now have a butter-enclosed dough square that is 8" x 8".
- Using a rolling pin, roll the dough into an 8" x 24" rectangle. Roll gently so you don't manipulate the butter too much. (You want the butter to stay in one layer and not get clumped up.)
- Fold the right 1/3 of dough toward the middle, and then fold over the left 1/3 of dough like a trifold letter. This is called the “first turn.”
- Pivot the dough 90 degrees so that the sides are now the top and bottom. Using a rolling pin, roll out the dough to form an 8" x 24" rectangle. Once more, fold the dough in thirds like a letter. This is the "second turn."
- Cover the folded dough in plastic wrap or waxed paper freezer bag and refrigerate for at 30 minutes.
- After the resting time, roll the dough into an 8" x 24" rectangle and fold the dough like a letter. This is the "third turn." Repeat as before for a "fourth turn." (If any butter pops through the dough, simply rub some flour on it and press it back into the dough.) Place the dough in plastic wrap or waxed paper and refrigerate for 30 minutes.
- Repeat the rolling and folding for the final two turns. You will now have turned the dough a total of six turns. Place the dough in the plastic wrap or waxed paper and refrigerate for at least 2 hours. You may also freeze it at this point, if desired, for up to 4 months.
- To use, roll dough to 1/8" – 1/4" thickness and cut into desired shapes. Bake in a preheated 400℉ oven for 15-20 minutes until crisp and golden brown. If using frozen dough, be sure to thaw it out in the refrigerator before rolling.
Nutrition
Notes
Did you make this recipe?
Let me know how it turned out!