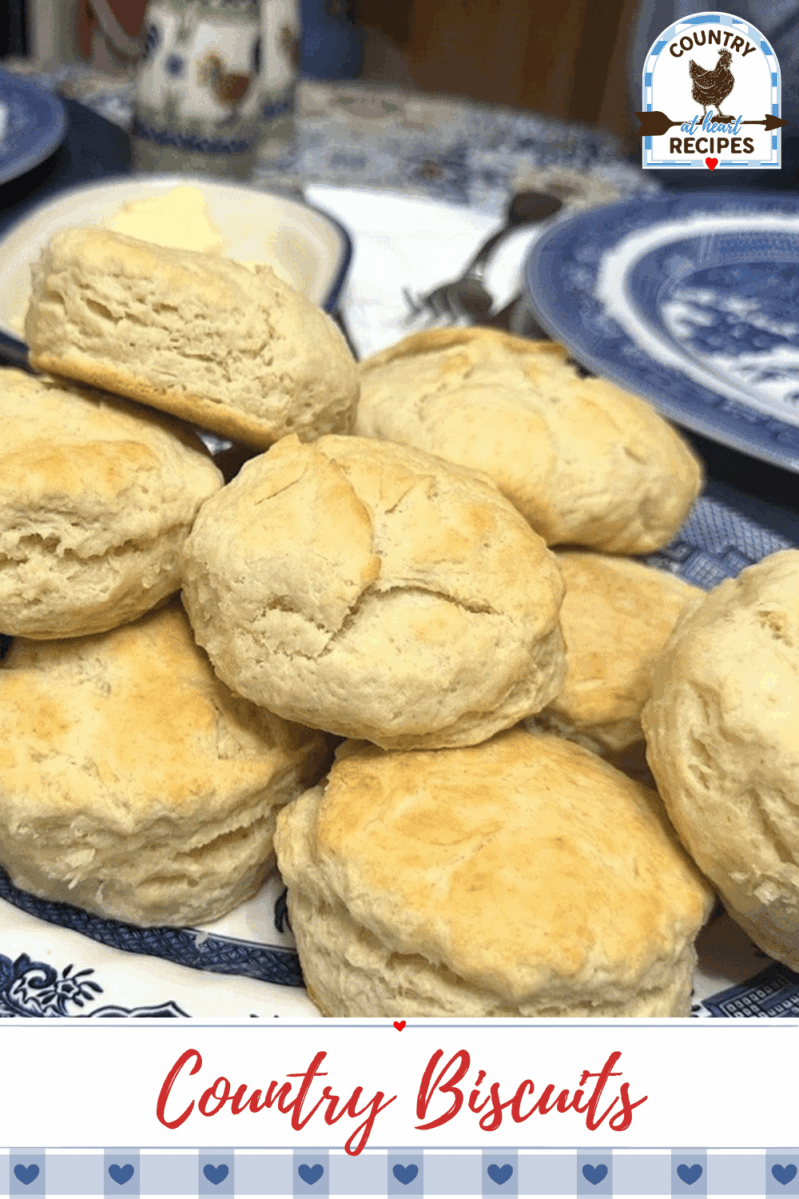
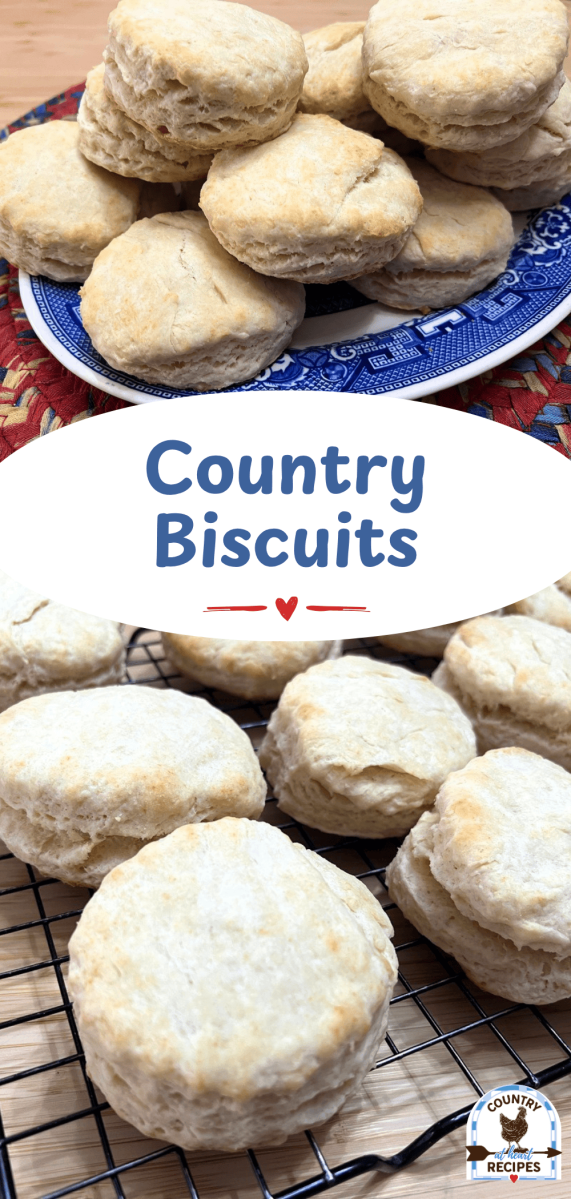

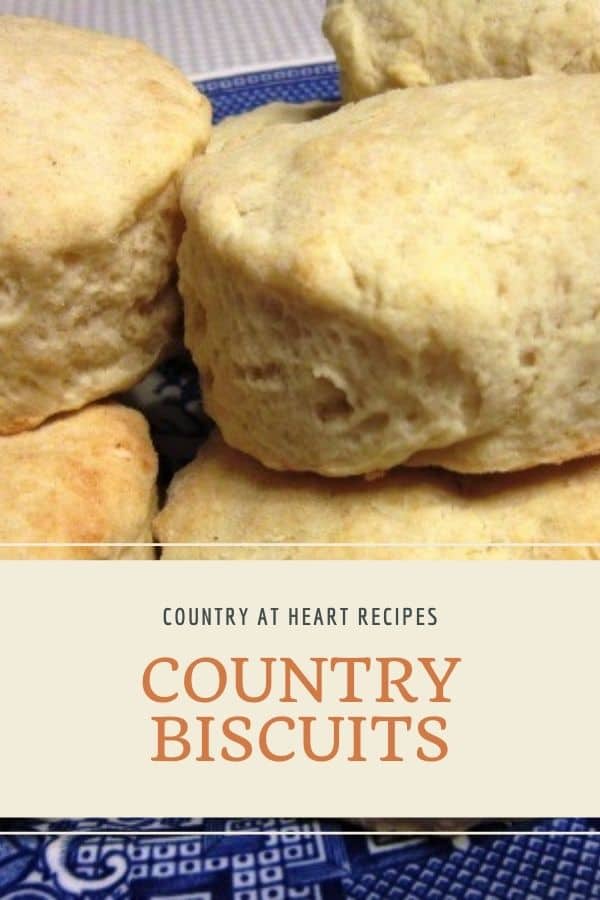
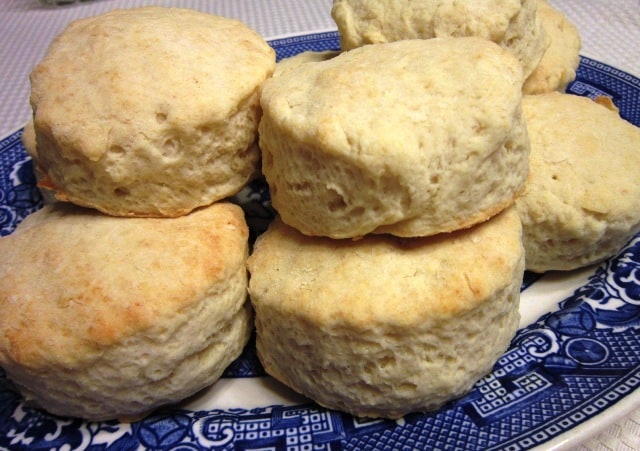
Once you try this recipe for Country Biscuits, you may never go back to store bought biscuits–canned or frozen. All three of our daughters have made these biscuits for the county fair and received purple ribbons.

Not only do we enjoy these biscuits at home, they are our go-to biscuits when we travel to the mountains. They are a perfect companion to Country Sausage Gravy or Chunky Venison Stew.
When preparing for a camping trip, I’ll schedule our meals and plan accordingly, measuring out any recipe ingredients that I can ahead of time. Such as these biscuits. I’ll measure and mix the dry ingredients and shortening and place the mixture in a quart freezer bag. Then with a black marker, I’ll list the remaining ingredients and instructions. It makes baking in the mountains so much easier.
Country Biscuits are Kid-Friendly
This recipe is also perfect for a young child to learn fundamental cooking skills.
Skills to practice and learn:
Ingredients for Country Biscuits
(As a Walmart Affiliate, I earn from qualified purchases at no price increase for you. See the full recipe at the bottom of this post.)
Instructions for Making This Recipe

Preheat oven to 450°F. Gather the ingredients so you have everything close at hand on the counter or table.


In a medium bowl, sift together all-purpose flour, granulated sugar, baking powder, cream of tartar, and salt. Using a blending fork, cut in shortening until it resembles coarse crumbs.


In a small bowl, beat egg and milk lightly. Add egg mixture to flour ingredients and mix until combined.


Turn out onto a floured surface and knead 10-15 times. Pat or roll out into 3/4″ – 1″ thick and cut with biscuit cutter. Place on a baking sheet lined with parchment paper or a silicone baking mat.
Bake in preheated oven until golden brown on top, about 10-12 minutes.

Transfer biscuits to a wire cooling rack or serving platter. Or place in a wicker basket lined with paper towels or a cotton towel. Cover to keep warm.
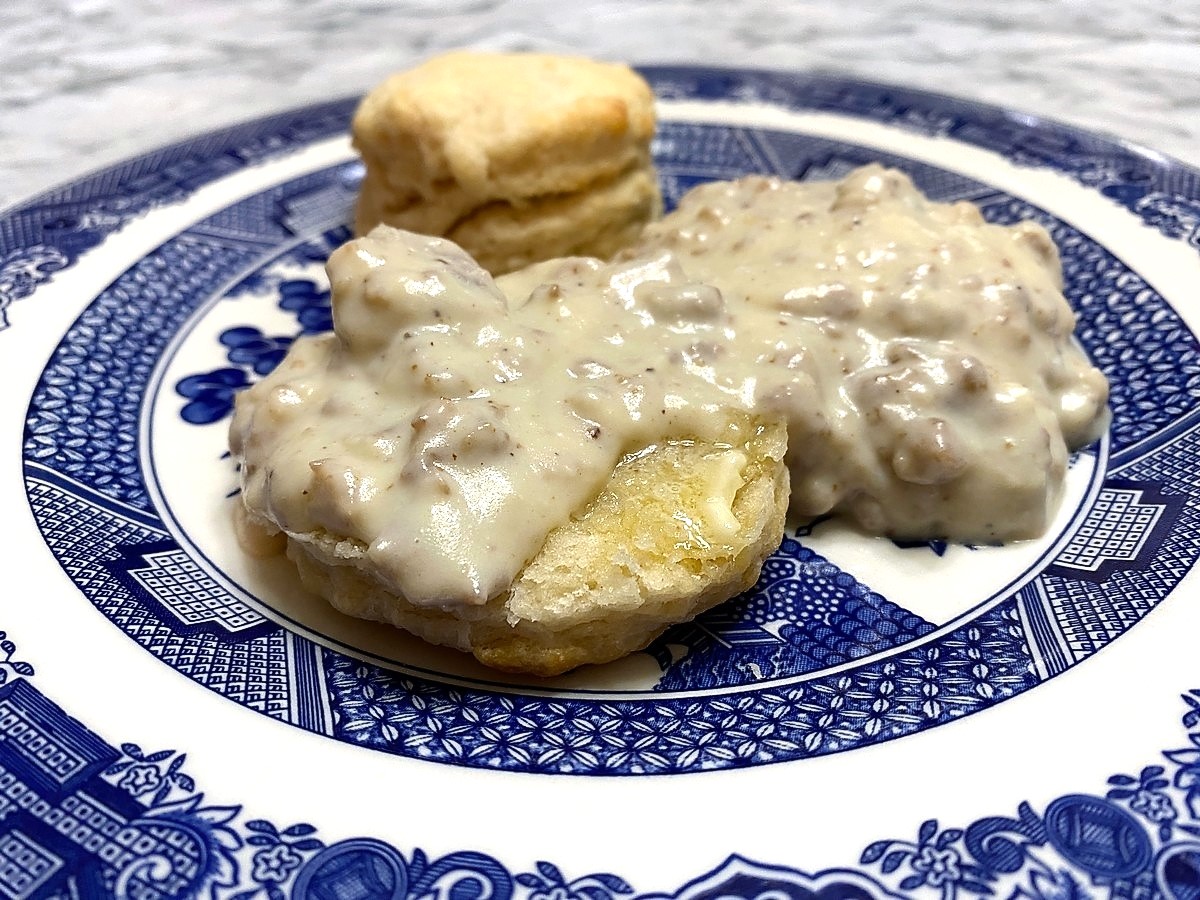
So, whether you’re planning your next camping trip or just a quiet dinner at home, try making some Country Biscuits for your family. Serve them with a chunk of cheddar cheese. With your favorite jam. Or honey. Or maybe some homemade apple butter. Yum.

Cooking on a Camp Dutch Oven
If you’d like to make these biscuits in a Camp Dutch Oven, simply follow the directions, but use a Camp Dutch oven (with feet) directly on camp fire coals (not open fire) or charcoal coals. Then add coals to the top of the oven to ensure the biscuits have a nice golden top. When baking, use a 3:1 ratio of coals from top to bottom.

See this post from Fresh off the Grid for more Camp Dutch Oven Cooking Tips. Read even more about Camp Dutch Ovens at Lodge.com.
Browse Similar Categories

Country Biscuits
Ingredients
- 3 cups all-purpose flour
- 2 1/2 tablespoons granulated sugar
- 4 1/2 teaspoons baking powder
- 1 teaspoon cream of tartar
- 1 teaspoon salt
- 3/4 cup vegetable shortening
- 1 large egg
- 1 cup whole milk


(As an Amazon Associate, I earn from qualifying purchases.)
Instructions Click to Start Cooking
- Preheat oven to 450℉. Gather the ingredients so you have everything close at hand on the counter or table.
- In medium bowl, sift together 3 cups (375 g) all-purpose flour, 2 1/2 tablespoons (36.97 ml) granulated sugar, 4 1/2 teaspoons (22.18 ml) baking powder, 1 teaspoon (4.93 ml) cream of tartar, and 1 teaspoon (4.93 ml) salt. Cut in 3/4 cup (0.15 kg) vegetable shortening until it resembles coarse crumbs.
- In small bowl, beat 1 large (1 large ) egg and 1 cup (0.24 l) whole milk lightly. Add egg mixture to flour ingredients and mix until combined.
- Turn dough out onto a lightly floured surface and knead 10-15 times. Roll out 3/4" – 1" thick and cut with a biscuit cutter.
- Place biscuits on a baking sheet lined with parchment paper or a silicone baking mat. Bake in preheated oven until golden brown, about 10 -12 minutes. Remove and place biscuits on a wire cooling rack, or keep warm in a wicker basket.
- Makes 12-15 biscuits, depending on the size of biscuit cutter you use. Serve with butter and jelly, or sausage gravy.

Is it possible to make these and freeze them – either prior to baking, or after baking – for quick use? (Like you can get the frozen kind in bags at the grocery store). If so, which works better? Thanks!
Hi there. I haven't done this, although I think it could be done quite successfully. I would go with making them and freezing them before baking. Then just go from freezer to oven, like you do with store bought brands. If you try this, please let me know how it goes! Thanks.